Not only a professional, but also a person without special building knowledge and skills can glue the wallpaper correctly. The main thing is to observe a certain sequence, to be patient and to take full responsibility for the implementation of each stage. Only in this way you will have an excellent result.
The content of the article- Preparing walls for pasting
- Step one - rid the walls of the old coating
- Step two - putty and leveling the walls
- Step Three - Surface Grinding
- Step Four - Primer
- Sticking wallpaper correctly
- Paper wallpaper
- Vinyl wallpapers
- Non-woven wallpaper
- Wallpaper for painting
- Oklačka na giprock
- Sticking unusual wallpaper
- Glue the ceiling
- Customize the picture
- We glue wallpapers
- Where to start and how to glue in the corners
Preparing walls for pasting
As in any construction business, the first stage is draft preparatory work. Before you start creating, you need to prepare your canvas well, namely the wall for pasting, the accuracy and aesthetic look of your repair will depend on it.
Step one - rid the walls of the old coating
If you are doing repairs in the newly commissioned new building, you can skip this step. If the walls have old wallpaper, you have to get rid of them.
It is not recommended to peel the walls on the old wallpaper, because there is a risk that under the influence of moisture and glue the old layer will peel off or go blistering. Moreover, it is rather difficult to achieve a perfectly flat surface of the walls.
To remove old wallpapers we need:
- Spatula or knife with a wide blade;
- Rags and sprays;
- Soap solution.
The process is very simple. Rags and sprays need to thoroughly wet the walls (soap solution will perform the function of adhesive solvent), and with a spatula or knife remove a layer of old wallpaper. Getting wet it will be very easy to move away.
Do not forget that the painted walls are also not the best surface for a new layer of wallpaper, so you have to get rid of the paint. Sanding or priming is not the best way to clean the surface, using a building hair dryer or a grinder is quite laborious and “dirty” cleaning methods, not to mention the fact that you have to breathe in fumes of paint or dust that can cause poisoning. The ideal way to remove paint from the walls - a special remover.
After cleaning the walls of the old layer, you can see how suitable the wall is for pasting, which cracks and dimples need to be leveled and filled, and this is the second step.
Step two - putty and leveling the walls
The second step depends entirely on the level of flatness of the walls. If the walls are completely crooked, then most likely you will have to resort to the help of professionals, who will level the walls with drywall or plaster on the beacons.
Even if the level of the walls is normal, only the surface itself leaves much to be desired (for example, it is in small irregularities, chips or dimples), it is still necessary to do without putty or any leveling mixture.
More information on how to prepare the walls and align them can be found in this video instruction.
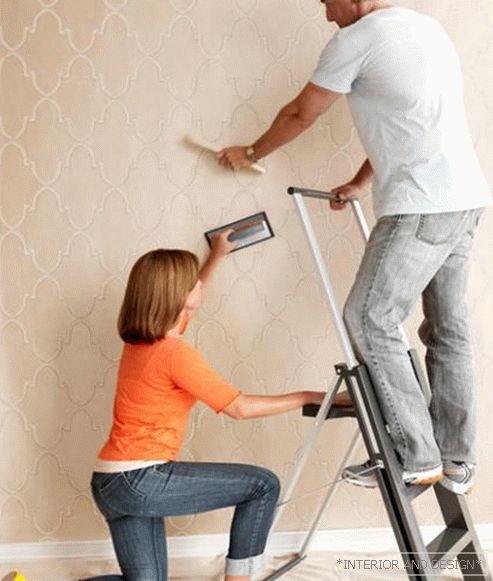
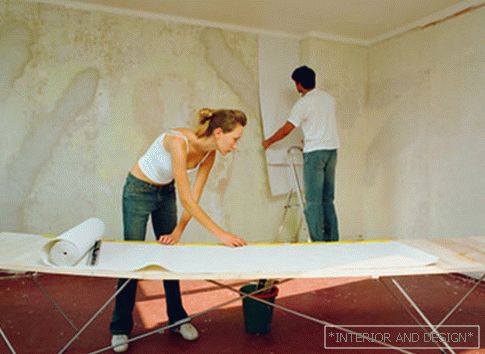
Vinyl wallpapers
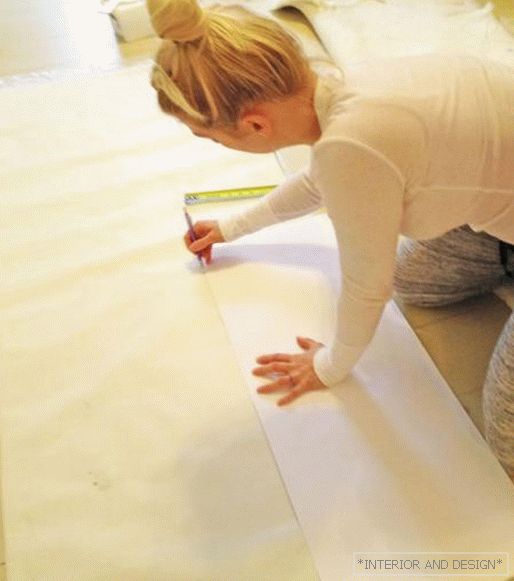
Раскрой рулонов виниловых обоев ничем не отличается от разметки бумажных, поэтому просто повторяем 2 первых пункта предыдущего раздела “Paper wallpaper”. В случае с рисунком придется клеить по одной полосе, подбирая рисунок каждой последующей полоски. Далее клеим виниловые обои так:
- We ground or coat with a thin layer of glue a wall under the wallpaper, let it dry for 15-20 minutes;
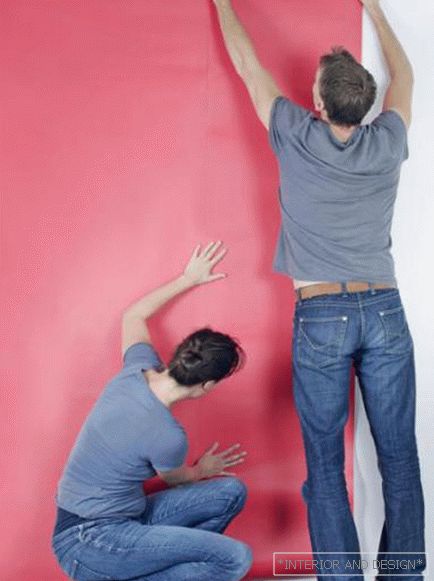
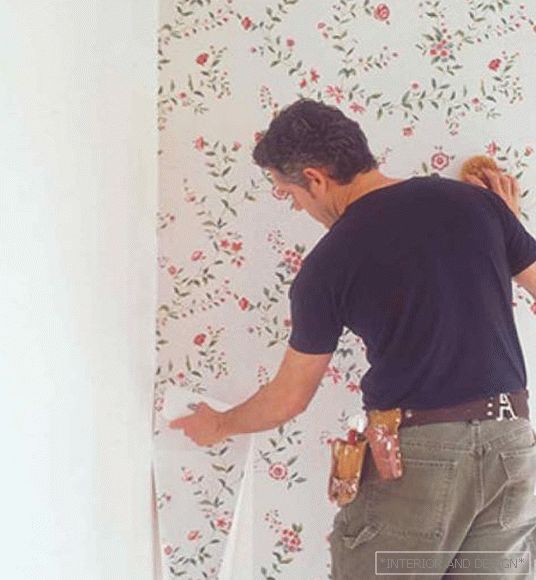
- We coat the cut strip and apply it on the wall with a roller;
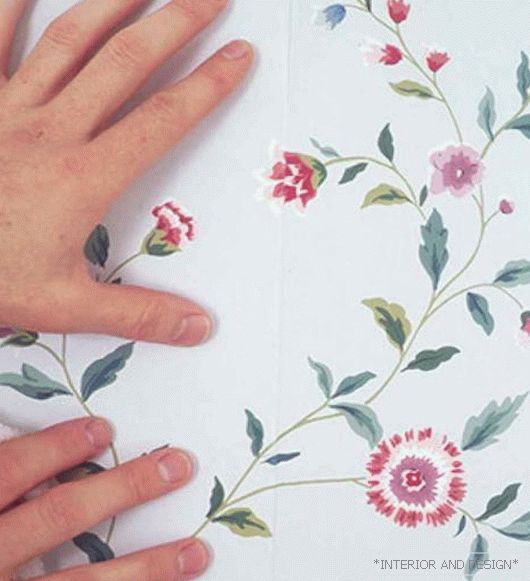
- The subsequent strips, unlike paper wall-paper, are applied end-to-end, without imposing one on another.
All layers of glue - both on the wall and on the wallpaper, should be applied with a very thin layer so that its remnants do not fall on the external surface when rolling with a roller and leave no traces, especially on light wallpaper.
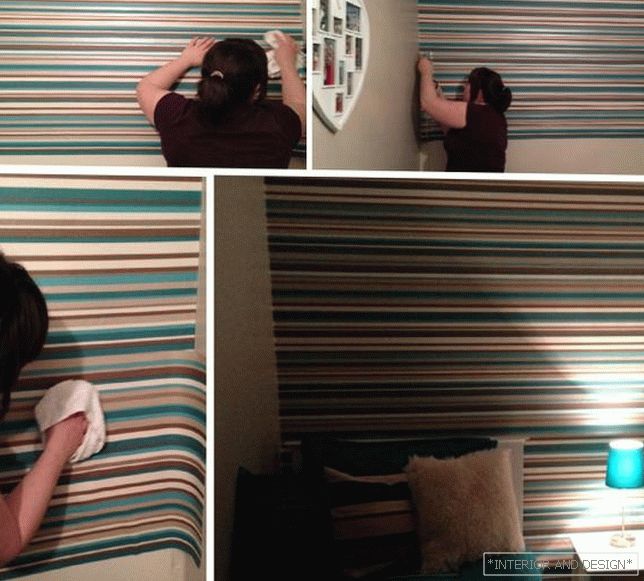
Smooth wallpaper, if bubbles appear, it is from the center to the edges.
The final touch will be trimming the excess wallpaper from the baseboard. Doing this is worth a sharp blade only when the wallpaper dries out to avoid their “chewing”.
Non-woven wallpaper
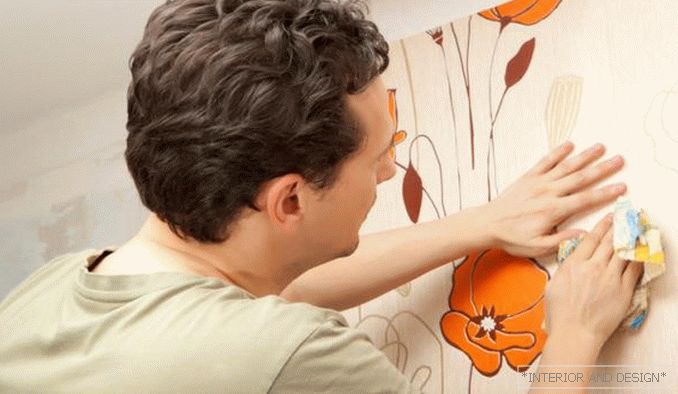
Wall-paper on a flizelinovy basis are glued the same as also vinyl wall-paper, only for them it is not necessary to coat the strip itself, since it contains a binder polymer, it is good enough to moisten the wall with special glue.
Wallpaper for painting
Wallpaper for painting бывают 2-х видов – флизелиновые или виниловые, поэтому и оклейку их проводим, согласно вышеуказанным инструкциям. Перед тем, как наносить краску даем обоям идеально просохнуть, в идеале около суток. Подбираем краску – для внутренней отделки дома оптимальны акриловые на водной основе. Они не дают подтеков, отлично ложатся и не скрывают фактуру обоев.
Oklačka na giprock
One of the options for finishing the drywall is wallpapering. They simply, easily and very evenly fall on the surface of the giprok, if you pre-seal the seams between the sheets. However, those who later decide to change the wallpaper, waiting for an unpleasant surprise. They are easy to lay down when pasting, but they are dismantled together with a layer of drywall, so it is desirable to treat the surface with plaster before applying. In the rest, be guided by the type of wallpaper that you will glue.
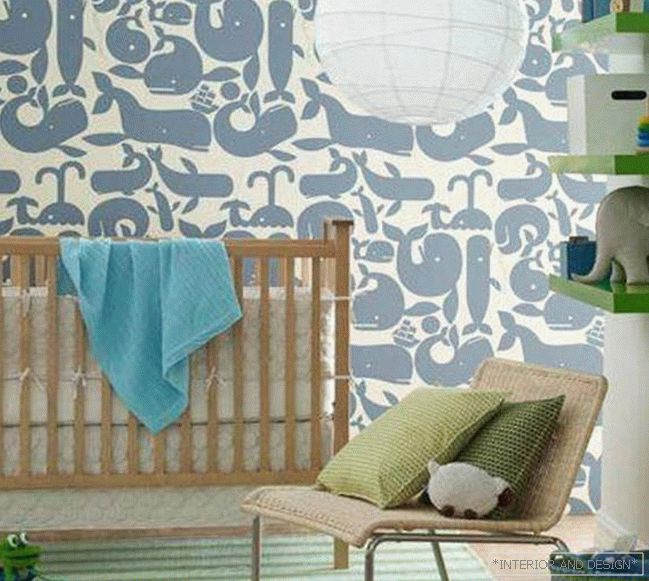
Sticking unusual wallpaper
Glue the ceiling
Just want to note that it is better not to glue the ceiling alone, especially if you are new to this business. We prepare the ceiling in the same way as the surface of the walls before pasting, i.e. we clean the old layer (paint, whitewash or wallpaper), putty irregularities, if any, and necessarily ground the surface.
- It is advisable to draw a control line (place the stickers of the first line), on which you will be guided. For less visible joints glue, starting from the window and moving to the opposite wall.
- In order to facilitate the process of pasting and not to flush the glue from the head, fold the strips with a snake, about 30–40 cm in length, so that the missed folds touch each other. And then gradually unfold the wallpaper when gluing.
- Align and expel the bubbles in the applied strip with a roller from the center, moving to the edges.
- The excess on the wall is cut off with a sharp blade after drying.
On a note! Before starting work, turn off the electricity, close the windows and put on clothes with wide pockets with everything you need (with a roller, knife, rag) so as not to jump up and down the ladder behind the tool.
How to glue wallpaper with a pattern? There are two options.
- Stick the first sheet on the wall, and when measuring the second, combine the drawing directly on the wall;
- Combine two non-glued strips on the floor and only then glue.
It is advisable to glue the strips end-to-end in order not to disturb the geometry of the pattern.
We glue wallpapers
Photowall-paper in an interior is not only the original design decision, but also an opportunity to visually expand space. With their help, you can “open” a window to a paradise garden full of flowers, create a delightful view of the cityscape, turn a doorway into an arch, or change the ceiling to a blue sky with clouds.
Examples of interesting interior solutions with photo wallpapers can be found in the video below:
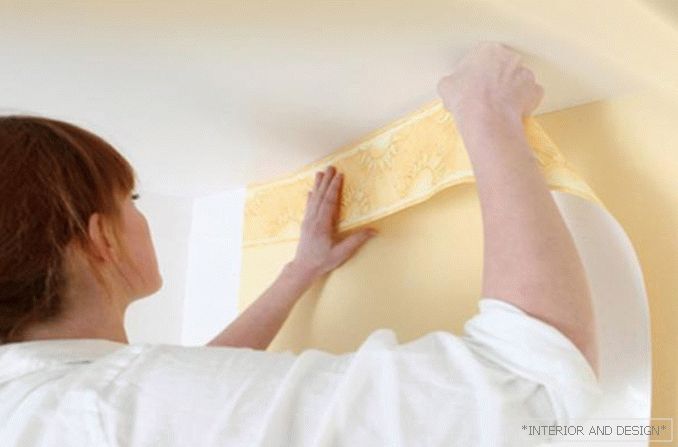
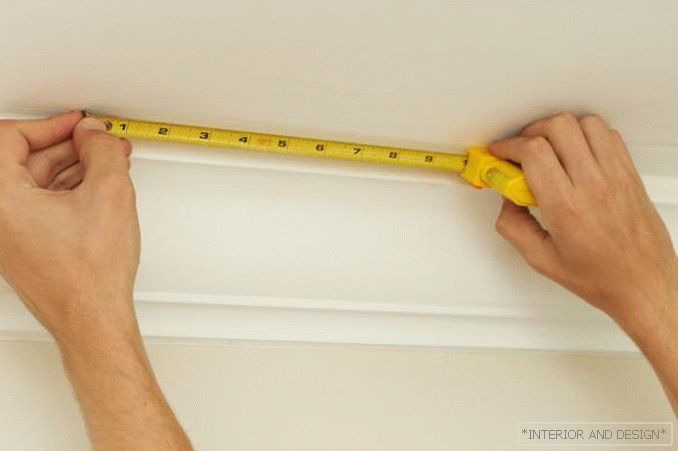
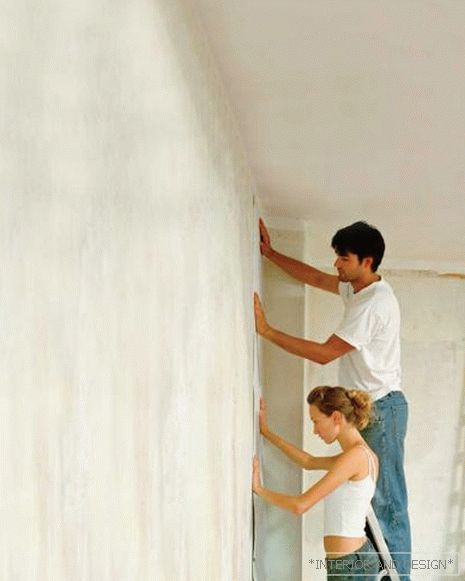
| In relation to the window | In relation to the canvas wallpaper | In relation to the corners | |
| Wallpaper on the ceiling | We start to glue from the window, moving in the direction of the opposite wall so that there are no noticeable overlaps. | It is best to glue the wallpaper to the ceiling, starting from the center and gradually moving to the edges, so symmetry will be observed, and the final work will look neater. | From the corners it is better not to start, because there is a risk that the strip will go awry. |
| Wallpaper | As a rule, they glue from the window, because the joints are not so visible. | We start to glue from the ceiling, but dub it not on the ceiling line, but on the front page of the wallpaper. Therefore, it is important to stick it straight. | It is not recommended to start pasting if the first lane hits the corner. It is better to stick the first canvas on a flat area, measured by level, and then finish the corner. In the future, if the wall is not smooth, it is better to glue the corners with wallpaper into separate cut pieces. |
Adhering to these simple rules, you can accurately, quickly, and most importantly qualitatively, make your own cosmetic repairs.

