What is the first thing to notice when entering a room?
No doubt this is a CEILING.
Direct white ceiling has long been irrelevant, and, frankly, casts boredom. A multi-level plasterboard ceiling is a great solution.
We have prepared for you everything you need to decide on the design of such a design. And also choose the location of the built-in backlight.
175 photos of suspended plasterboard ceilings for bedroom, living room and kitchen. Detailed assistance in the selection of the ceiling for a small room. Laconic and convenient infographics on the choice of design style.
The content of the article- Two-level plasterboard ceilings
- Lighting design on plasterboard ceilings
- Plasterboard ceilings for the kitchen: the choice of design
- Ceiling design in a small kitchen
- Interesting solutions for the kitchen of 10 square meters
- Ceiling in | kitchen-living room: competent zoning
- How to make a ceiling in the bedroom?
- Design for a small bedroom
- Adjust the narrow bedroom
- Original design | for bedroom 12-14 square meters
- Creative | in the children's bedroom
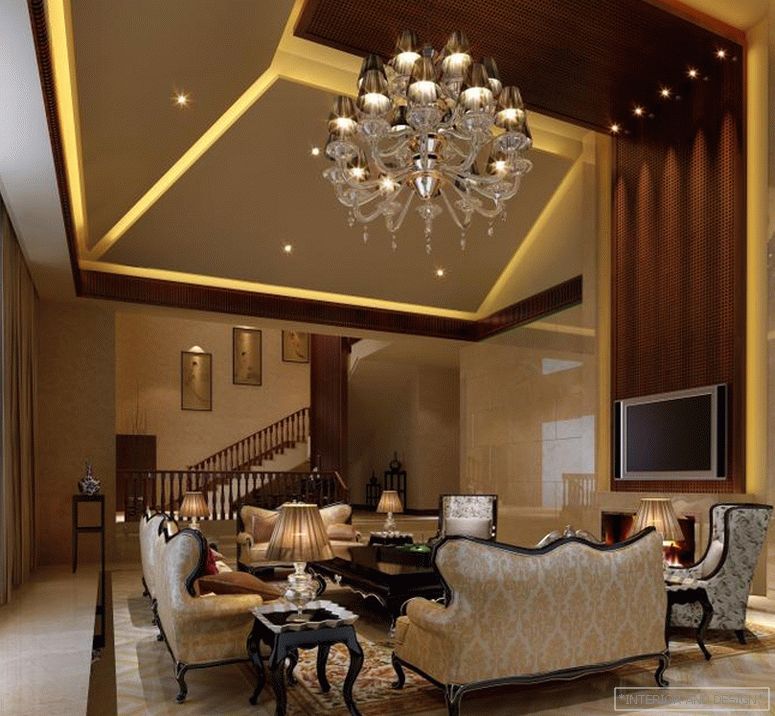
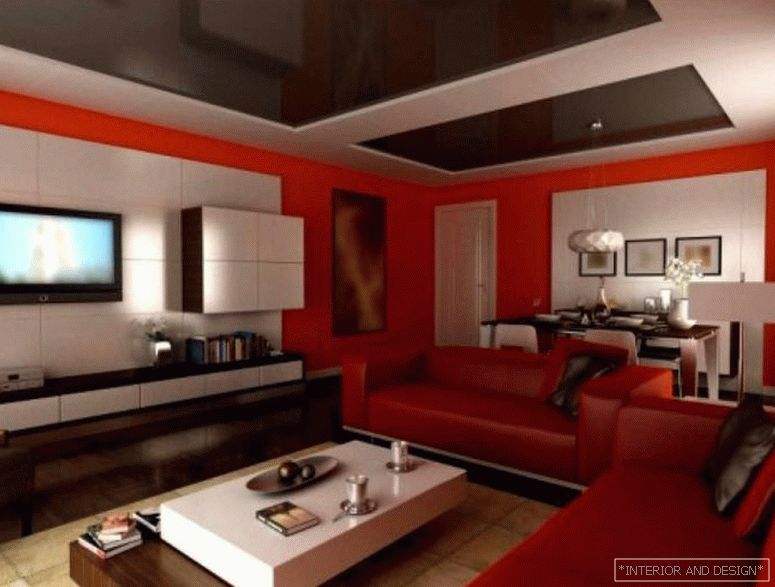
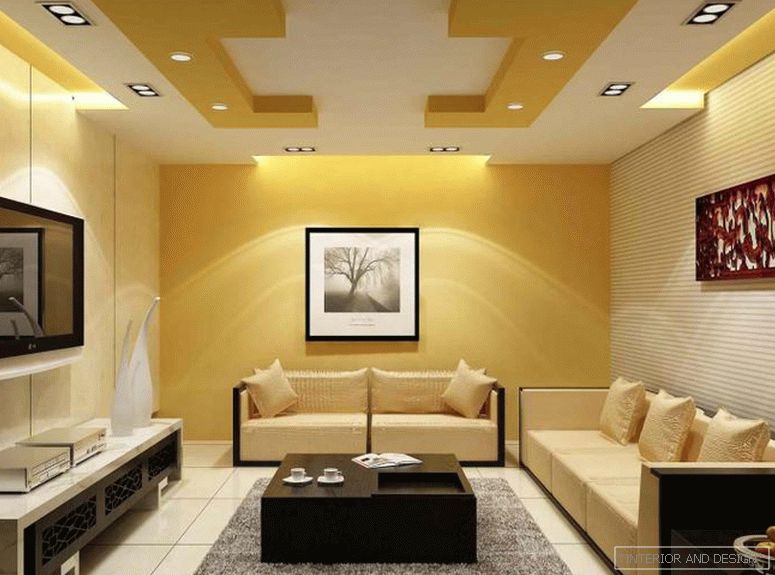
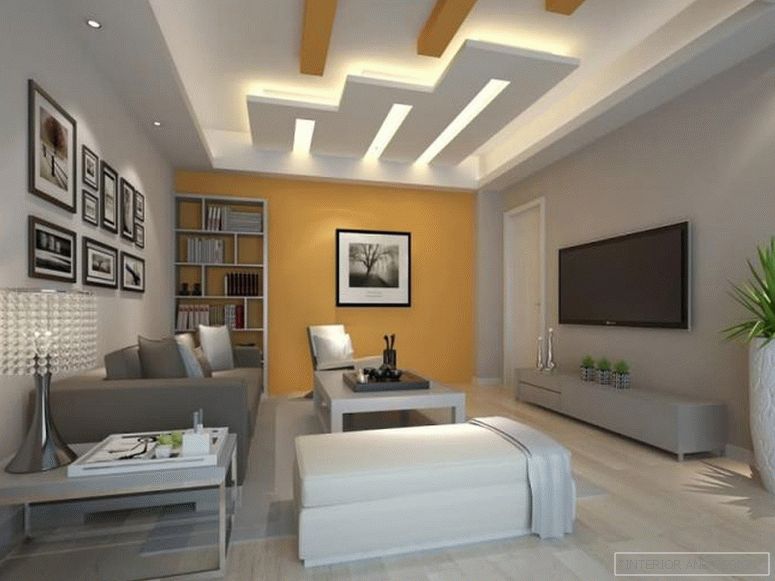
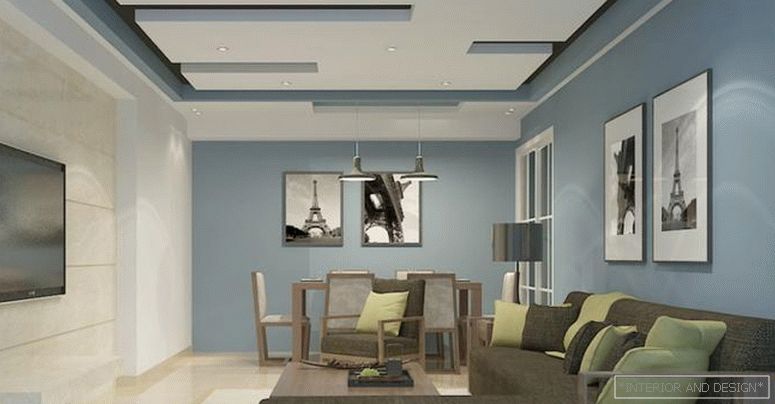
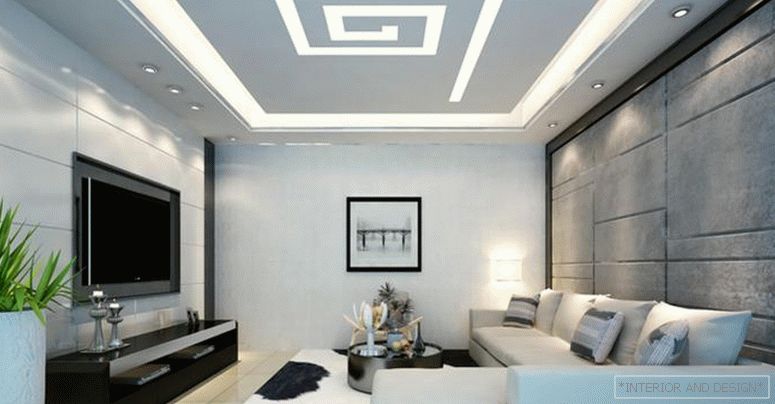
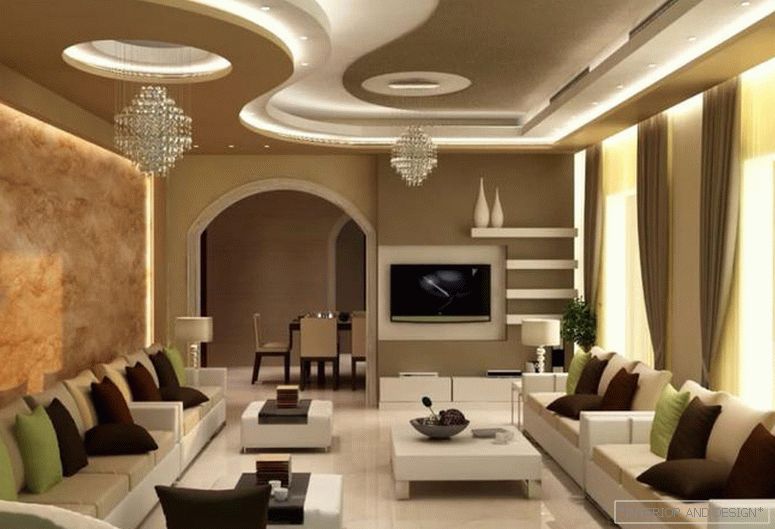
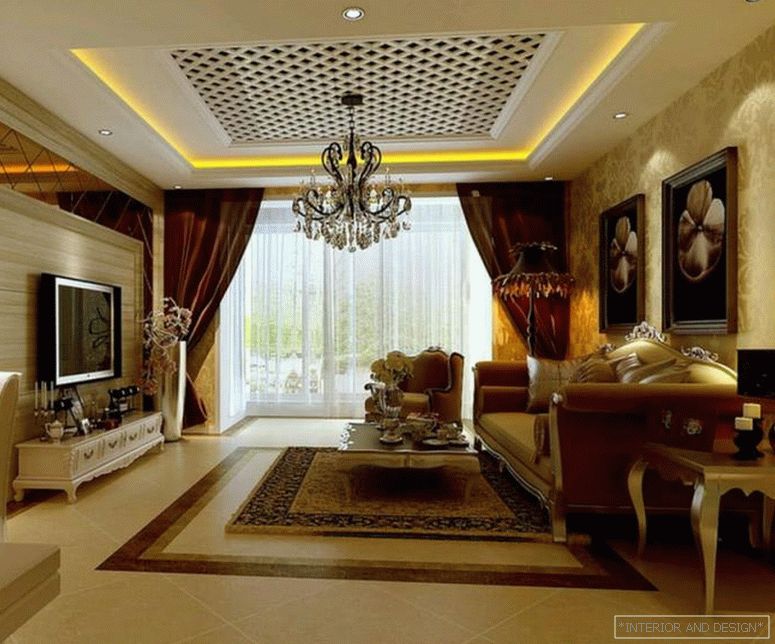
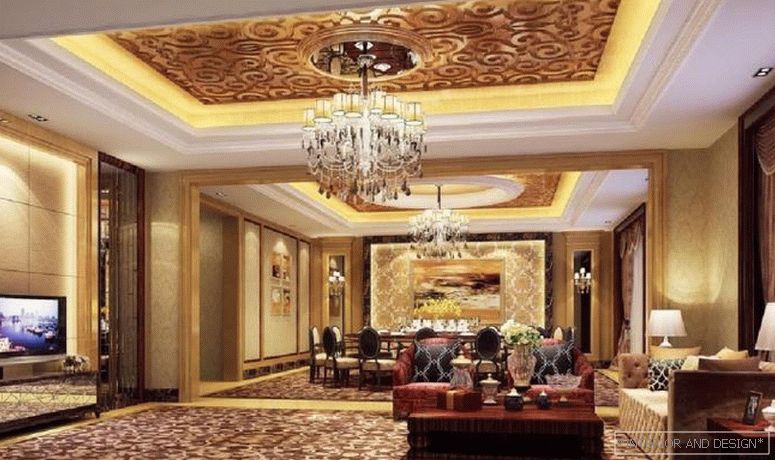
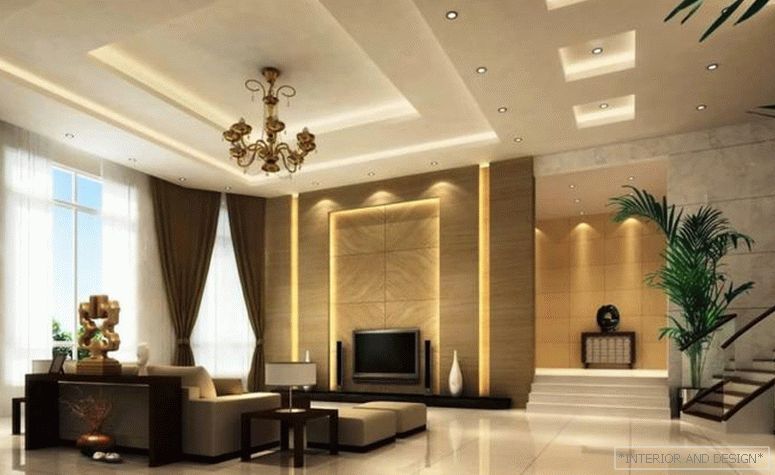
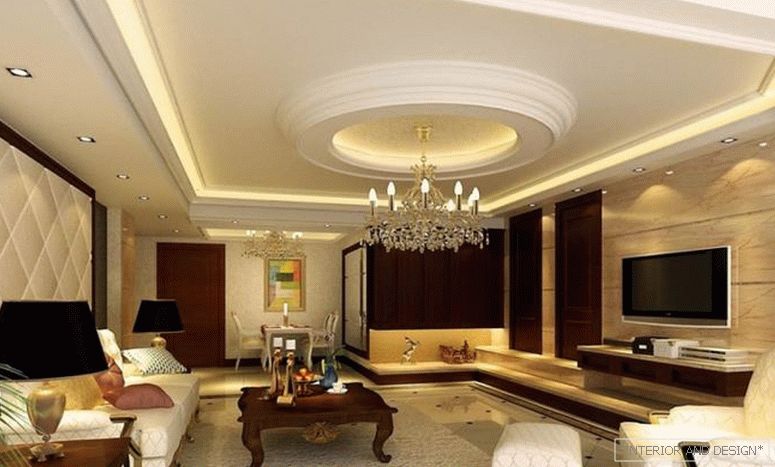
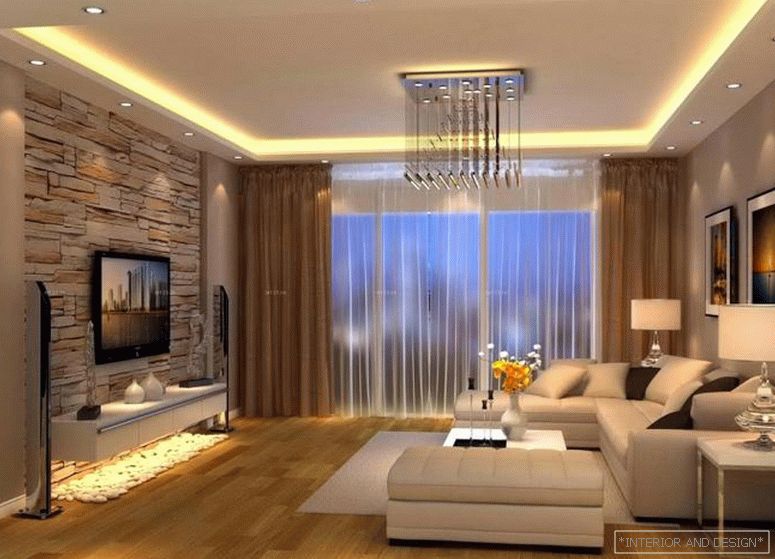
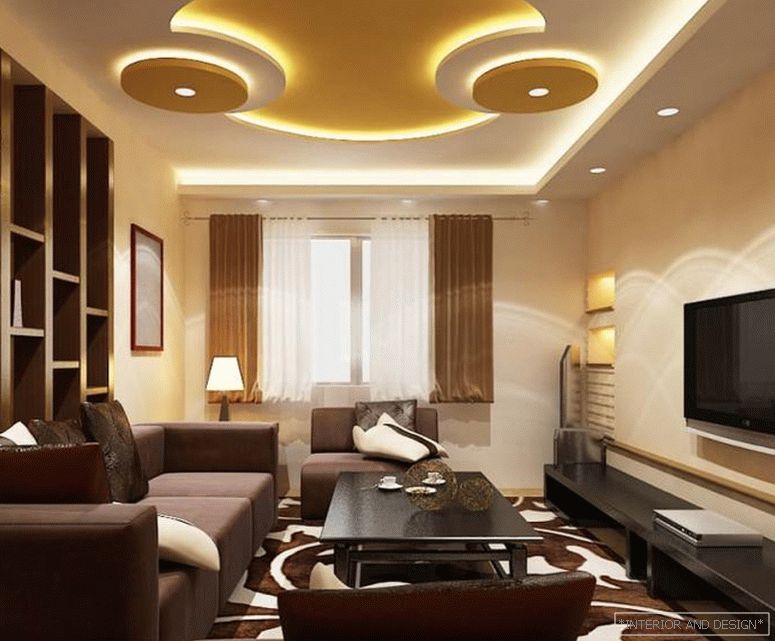
- Ceiling Design Tips in the Living Room
- Registration of the hall in | Khrushchev
- Spacious living room | 20 sq. M. m
- Master the ceiling of plasterboard do it yourself
Gypsum ceilings are of various shapes, colors, designs and easily fit into any style of the room, whether classic or modern. Proponents of a simple interior can restrict a single-level composition, and for those who want to create something unique and creative, the market offers several options for designs for plasterboard ceilings.
| Ceiling decoration | Description |
|---|---|
| Duplex | Enjoy the most popular. They have a variety of design options and ceiling lighting. |
| Three level | Difficult to design, but look luxurious in the interior |
| Columns | Very beautiful surround element, inexpensive and easy to manufacture. Will transform any room, will successfully fit into the room of any style |
| Arches | Difficult to design, cost a lot of money, but such a room will be a real masterpiece |
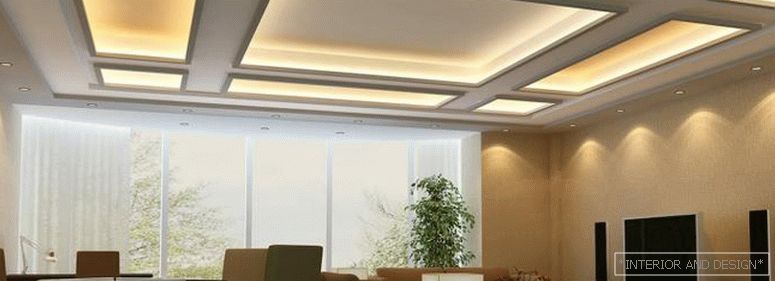
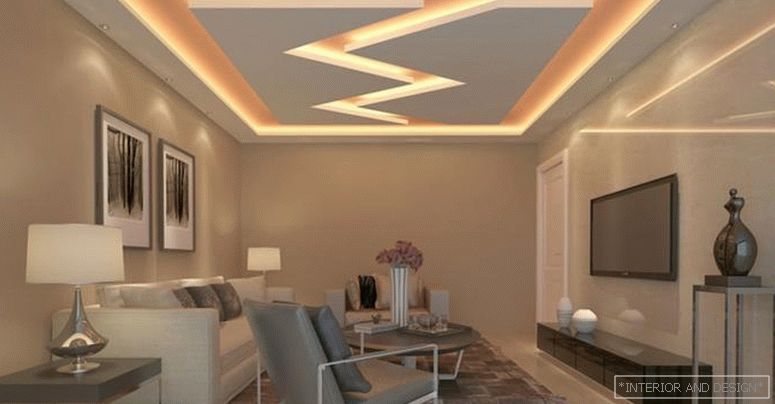
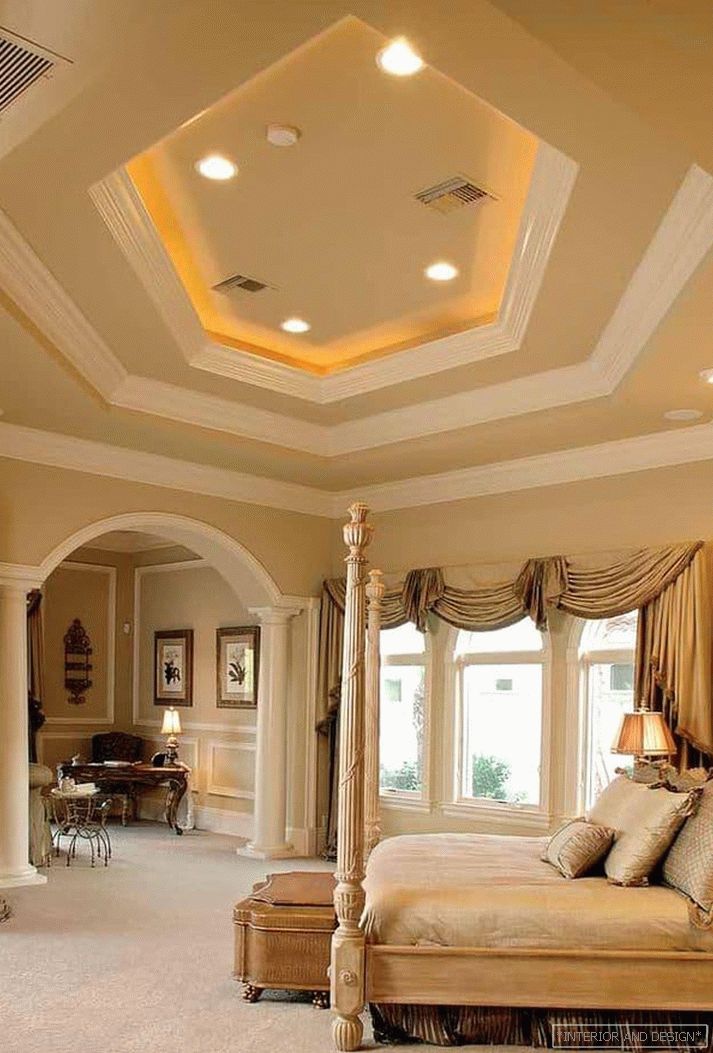
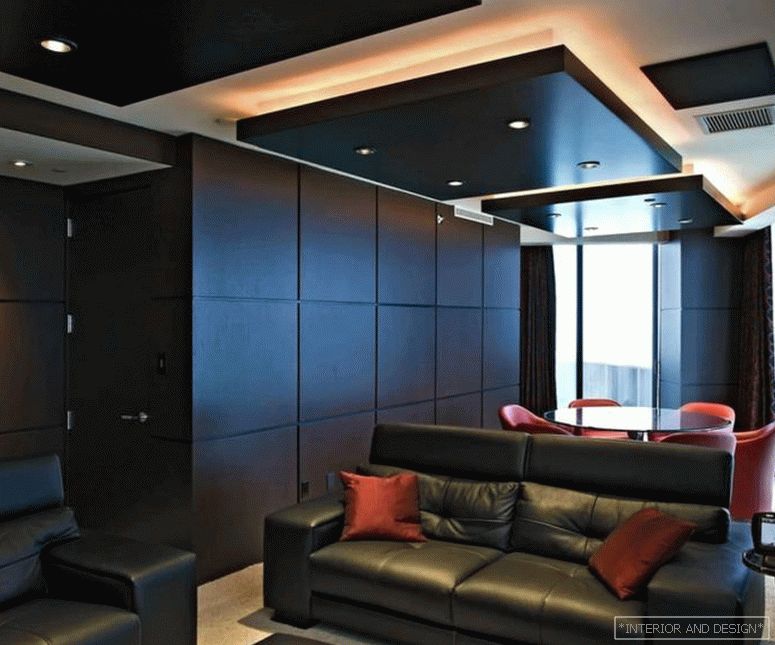
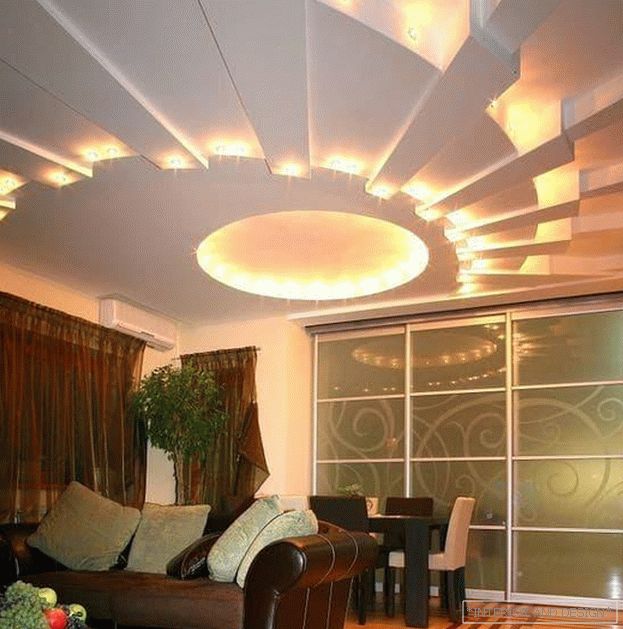
Two-level plasterboard ceilings
Two-level ceilings give the room extra space and allow you to change the shape of the room literally beyond recognition, making the interior rich and elegant. The complexity and quirkiness of the ceiling structure depends only on your imagination! Such ceilings are primarily striking and riveting the attention of guests!
Sudden height differences or smooth flexible lines, built-in lamps or unusual colors in the decoration - all these features of the decor can be realized with the help of drywall. The geometry of the ceiling allows you to create any shape: angles, curves, curved and broken lines. Depending on the interior of the room, the ceilings can also be decorated with painting or stucco.
With the help of height differences and proper lighting, they can be used as an additional technique for zoning room space. And you can emphasize only individual interior items to which you want to pay special attention: a bed, a bar counter, a table.
Duplex потолки будут прекрасно смотреться в детской комнате. Гипсокартон дает возможность соорудить на потолке любые фигуры: цветок, солнышко, инопланетный корабль, футбольный мяч...

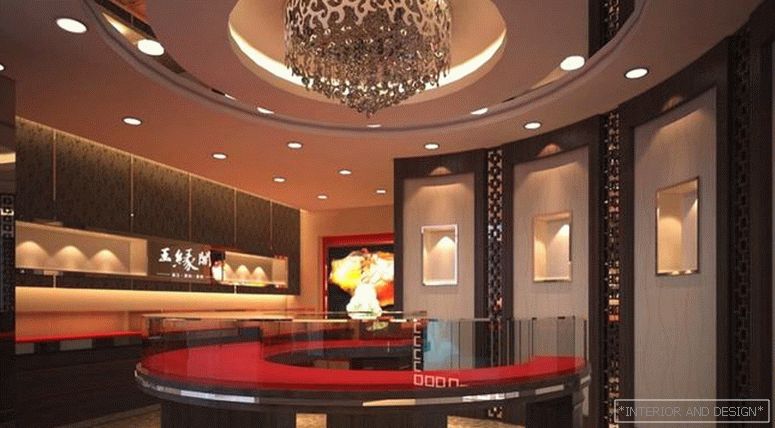
Lighting design on plasterboard ceilings
The main function of the designer lighting is probably not even lighting, but creating a special mood and a pleasant atmosphere in the room. Its design options are huge, but the most popular are LEDs and LED strips. They give soft uniform lighting, visually increasing the depth of the ceiling and creating the so-called “hover” effect. By combining models of different colors of light and shapes, you can come up with your own unique design.


Types of design lighting:
Standard. This light is simple in design: for it, rather simple ceiling tires for lamps and standard pendant lights.
Target. Suitable for zoning space, visually separating different parts of the room from one another. For example, in the place of active pastime the light can be made brighter, and in the relax zone - muffled tones and soft light.
Decorative. Bright contrasting colors or gentle light with modulations: well-thought-out lighting, in harmony with the room's furniture and elements of decor, will help to create the atmosphere and festive mood you need in the interior.
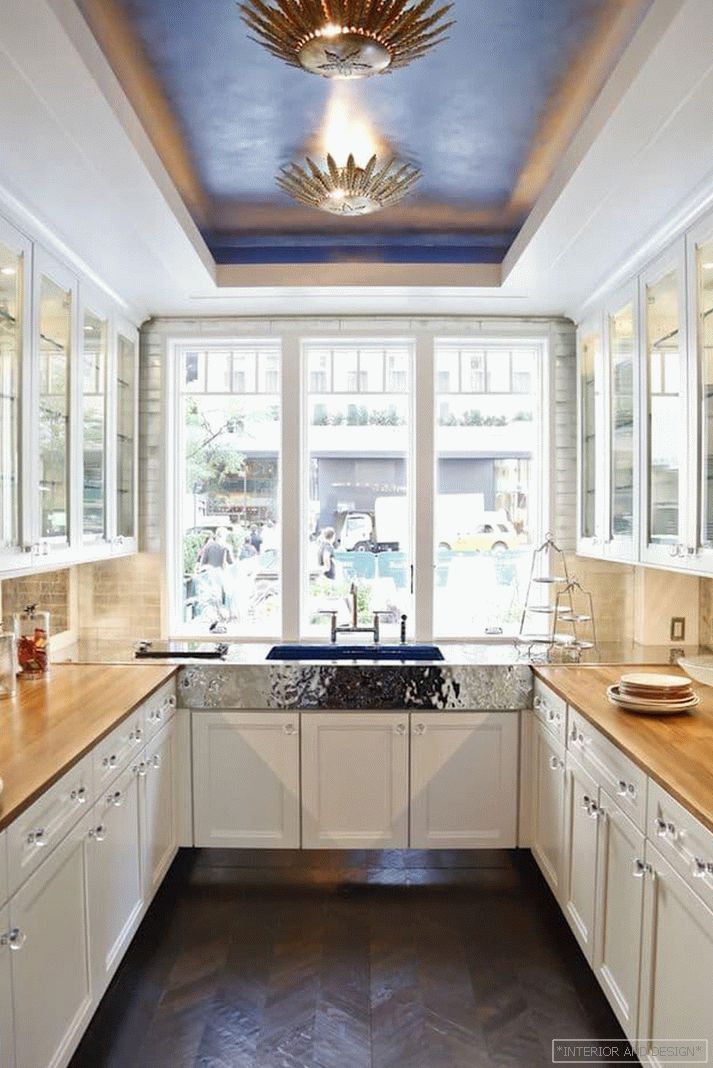
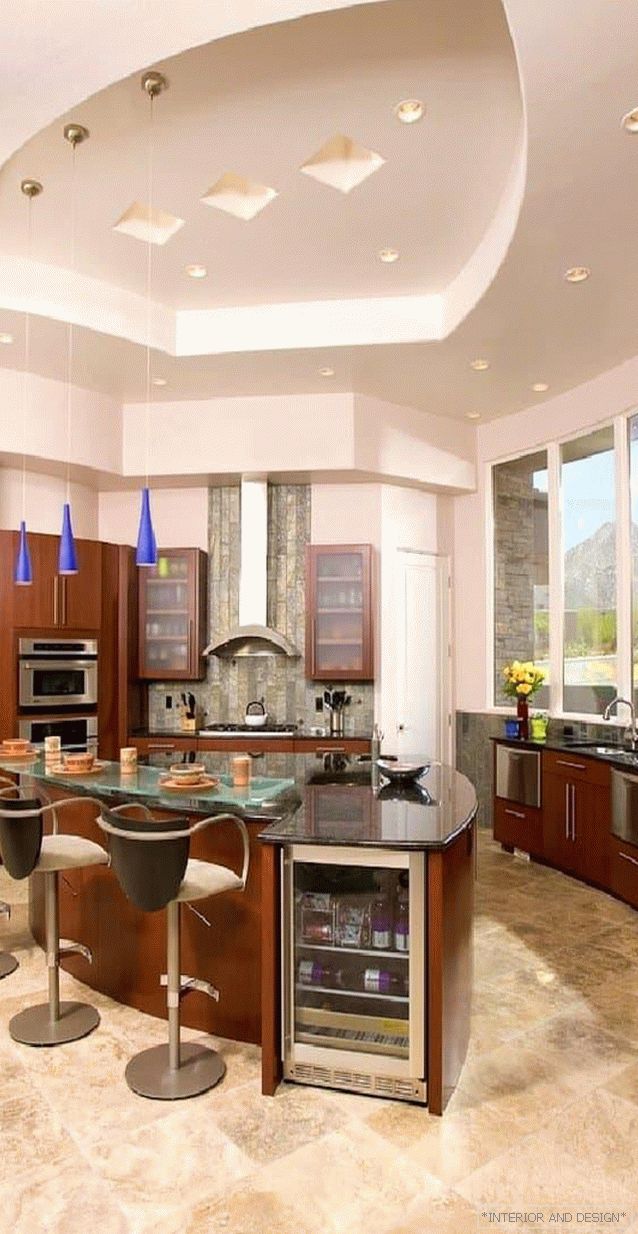
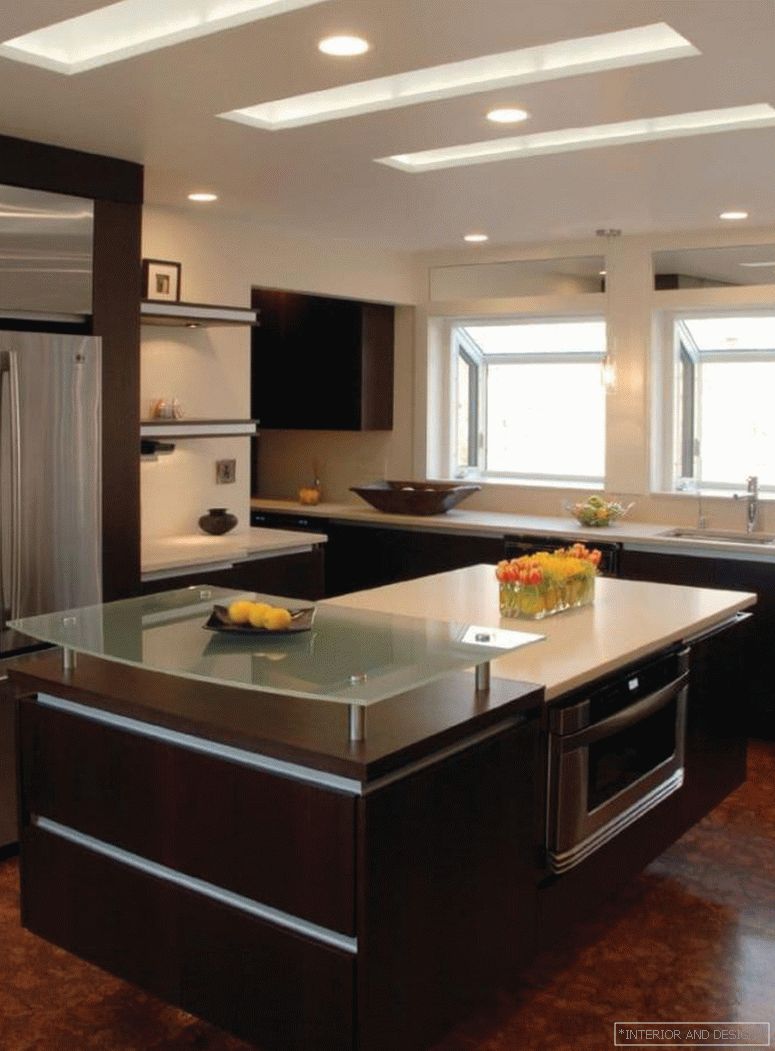
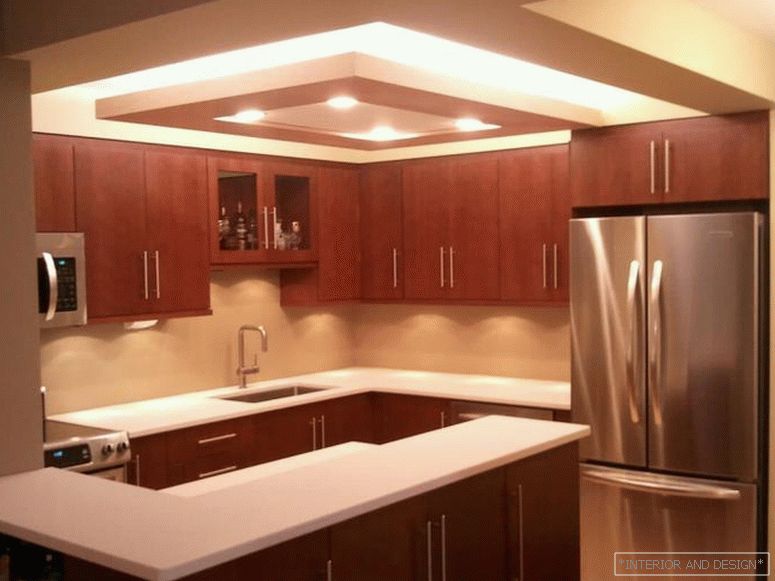
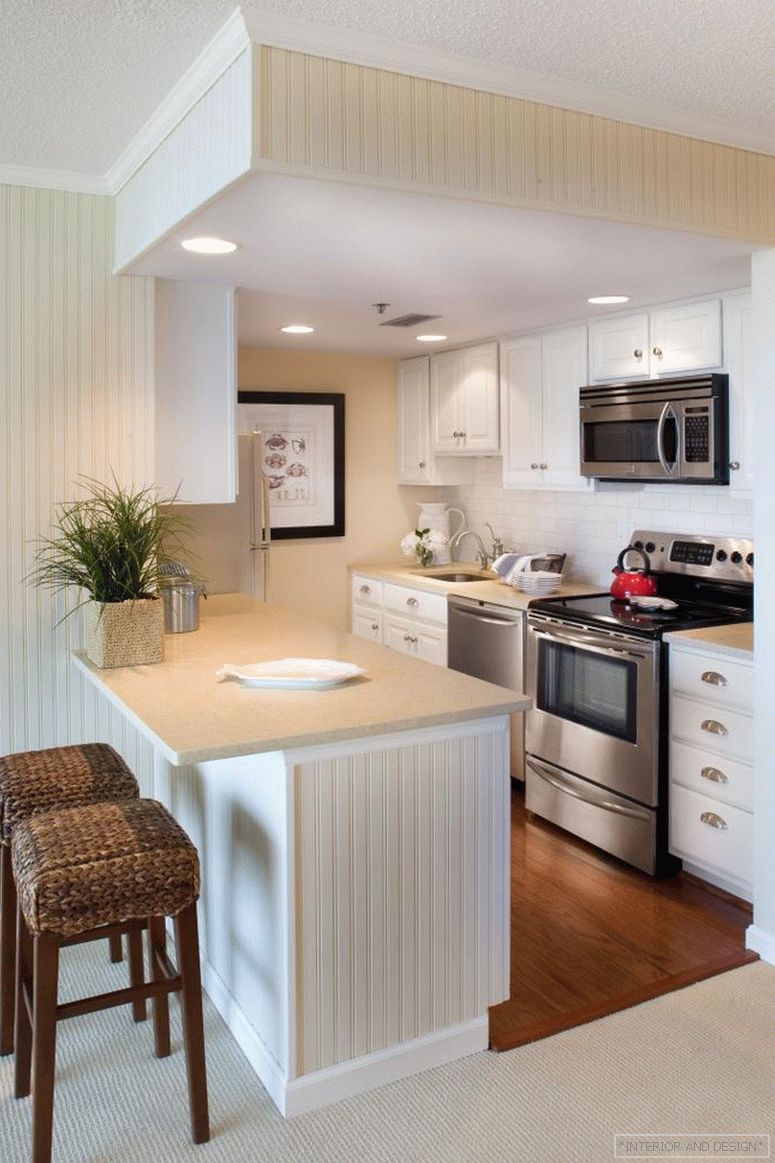
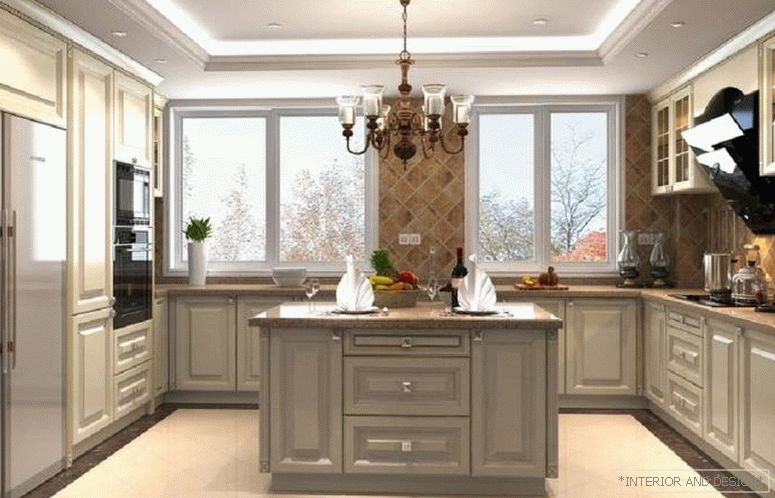
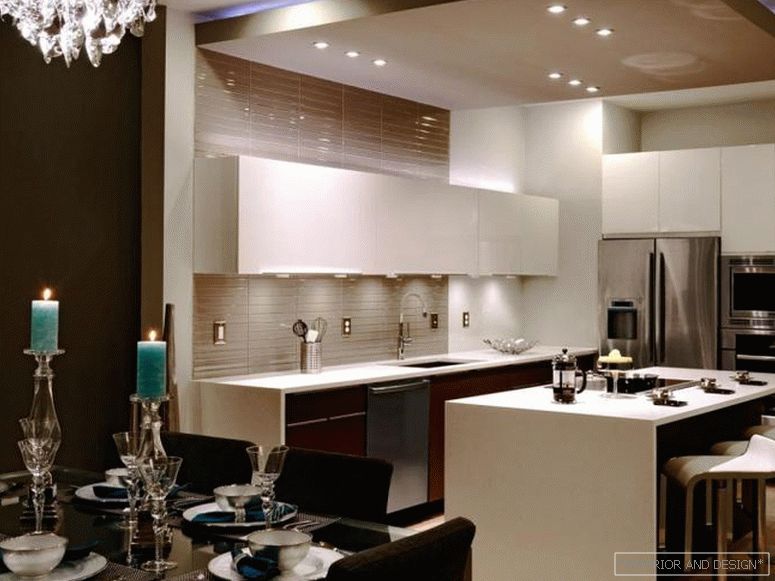
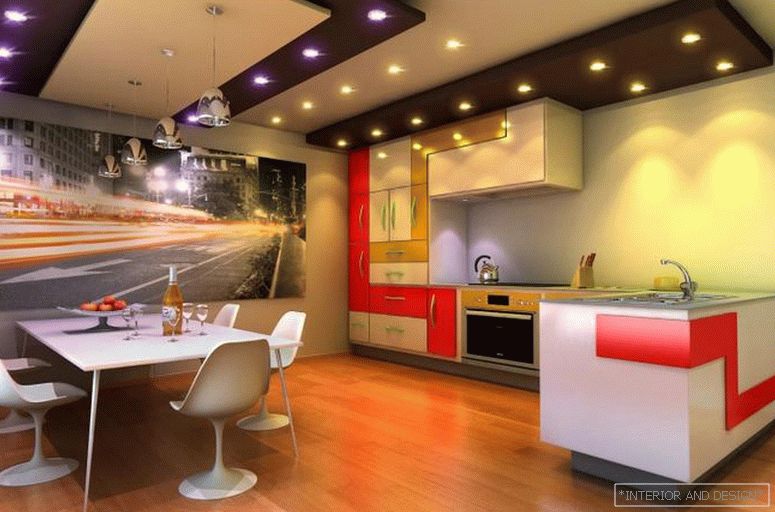
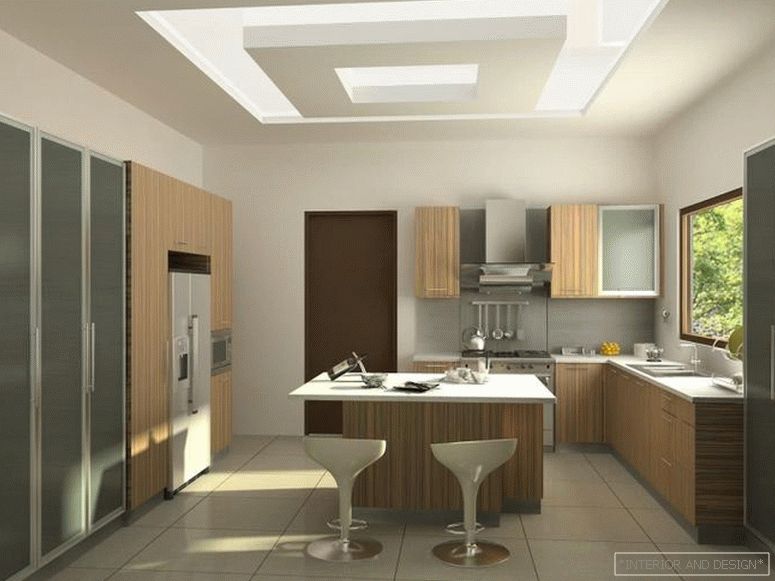
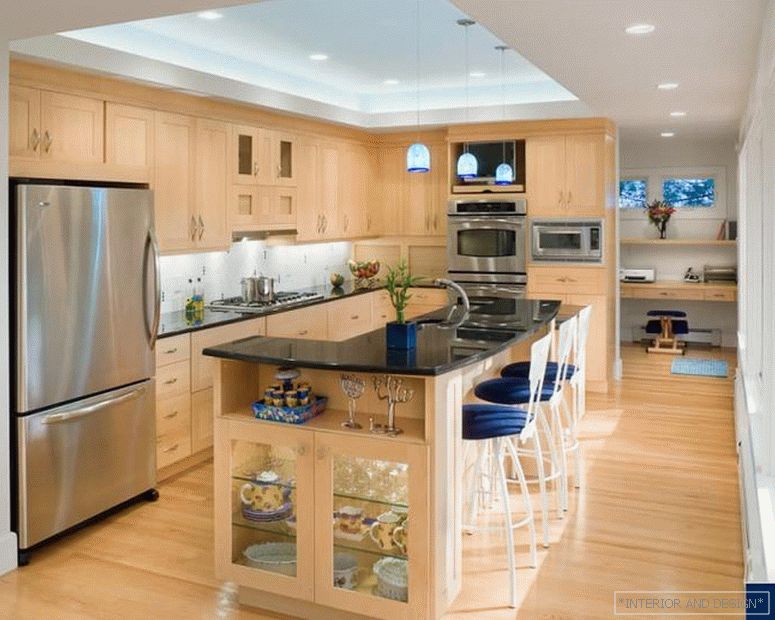
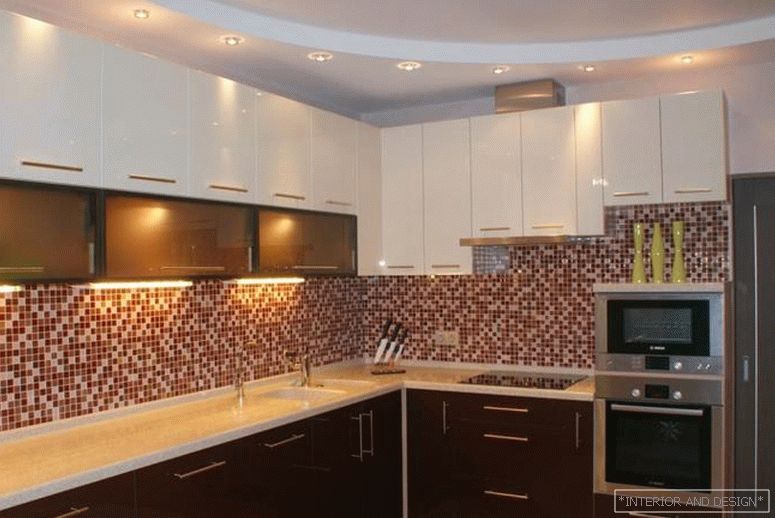
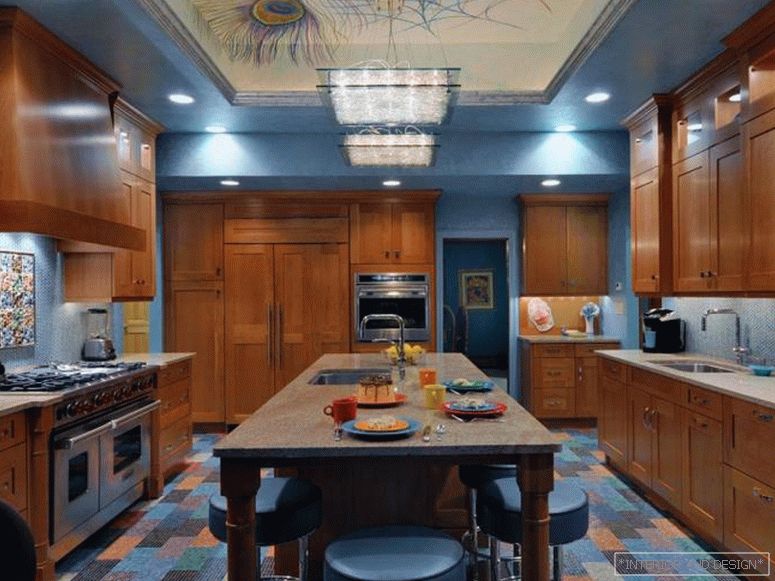
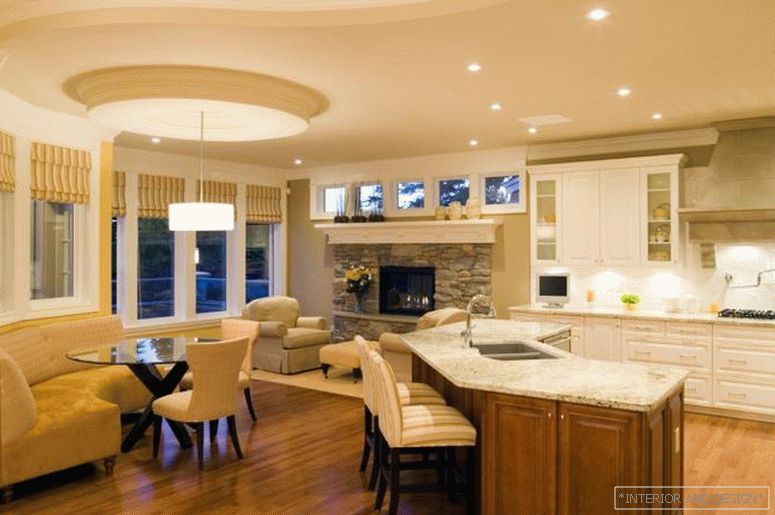
Plasterboard ceilings for the kitchen: the choice of design
In the design of the ceiling in the kitchen often use the correct geometric shapes. The round layout is good to highlight the center of the room, and rectangular ceilings perfectly adjust the shape of the room. For example, for a narrow kitchen a square shape is recommended, which visually expands the walls. For the kitchen, you can pick up and wave-shaped shapes of unusual and bizarre configurations, starting with ordinary ovals and ending with unimaginable zigzags.
Attention! In the kitchen with low ceilings can not be placed complex structures: choose one or two simple figures! When designing the shape of the ceiling, always match the dimensions of the decor elements with the height of the room, so that everything looks harmonious.
Designer ceilings made of plasterboard, not only radically transform the interior of the kitchen, but also good from a practical point of view. Drywall has great moisture resistance, excellent sound insulation and fireproof protection, which will provide you with the beauty and successful operation of the kitchen for many years.
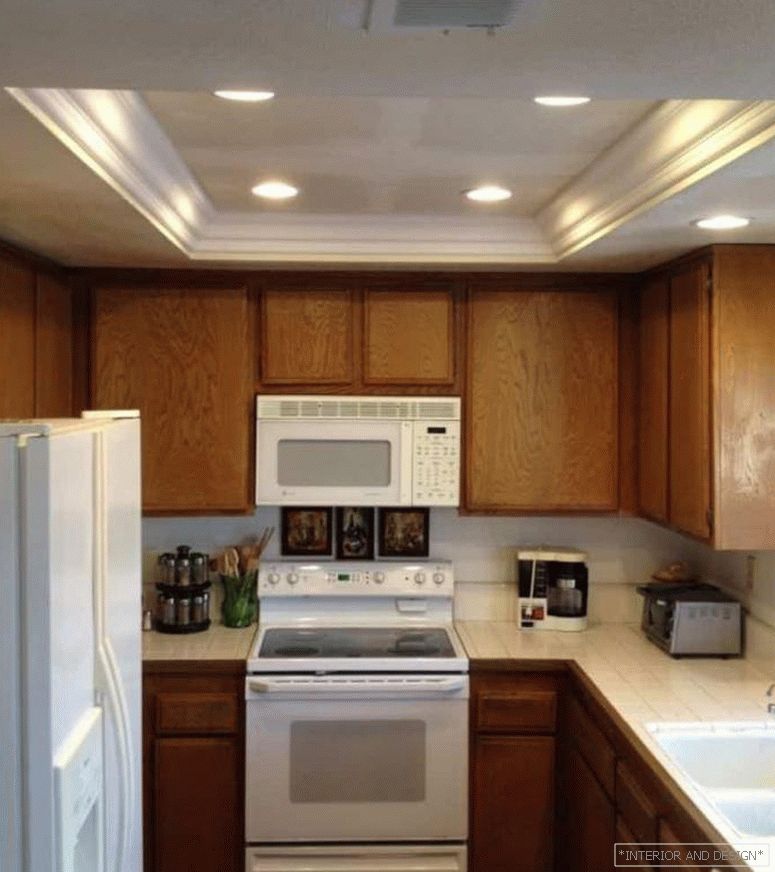
Ceiling design in a small kitchen
Drywall ceilings are recommended to be placed only in the kitchen with high ceilings or above average level, as they take away the height of the room and reflect the light poorly. For a small kitchen with low ceilings, you can make a two-tier structure or simply place a slight eaves around the perimeter: this will help visually raise the ceiling and make the space more airy and free. You can experiment with color and think over a different color range for each level.
An interesting design technique - the so-called "soaring" ceiling. The effect of hovering the ceiling is achieved by mounting the second level in the center without visible side walls. The LEDs are placed inside this design so that they are invisible, and only their light is visible.
Remember that the luminaires built into the suspended ceiling should be evenly distributed over the entire area of the kitchen in order for all functional areas to be lit.
Interesting solutions for the kitchen of 10 square meters
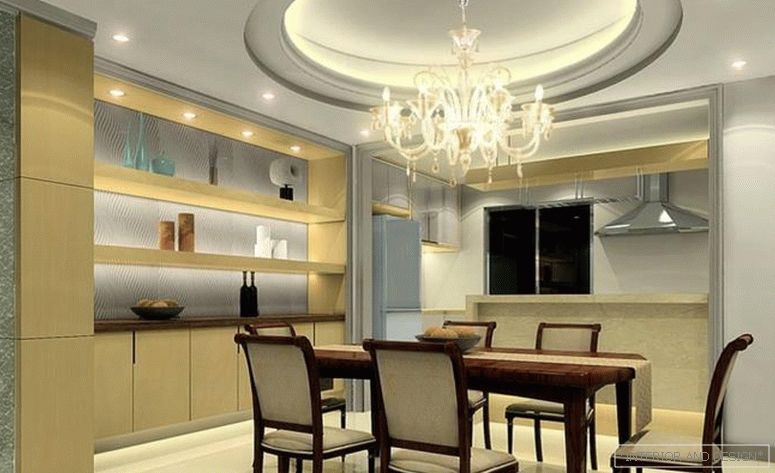
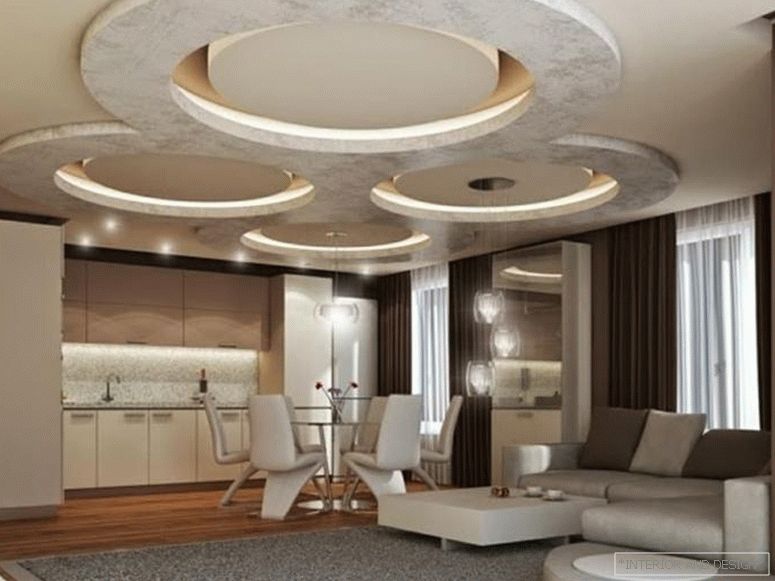
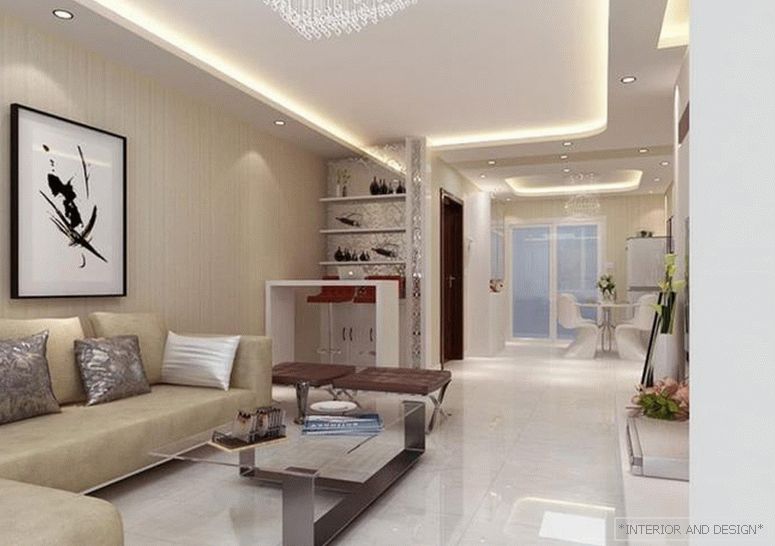
The ceiling in the kitchen-living room: competent zoning
What moments need to be considered when choosing the design of the ceiling for such an unusual room as a combined kitchen-living room?
As we have already mentioned, it is important to provide for a functional division into zones: working (kitchen) and resting place (dining-living room). The boundaries between the rooms can be created using the unusual architecture of the ceiling, building various geometric shapes or dividing lines. To enhance the effect will help decorative lighting and the use of different materials when finishing the ceiling in the kitchen and living room.
Divide into zones not only the ceiling, but also the walls and the floor. Play with the design, duplicate the various elements, emphasizing the overall style! This design will make your kitchen unusual, fashionable and it will be much more interesting to look than the standard ceiling paint in white.
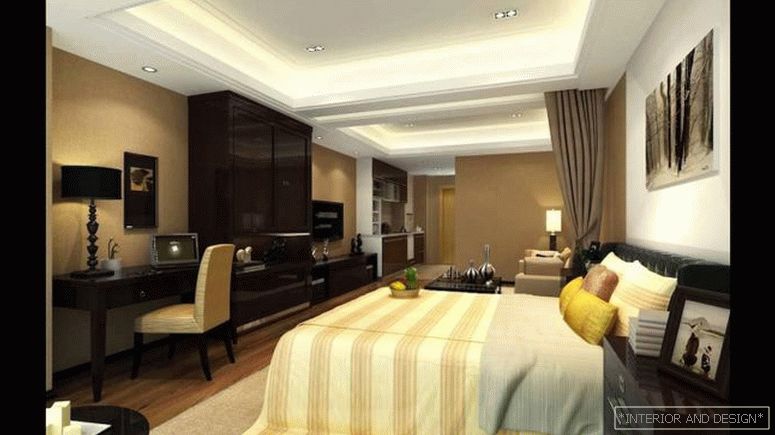
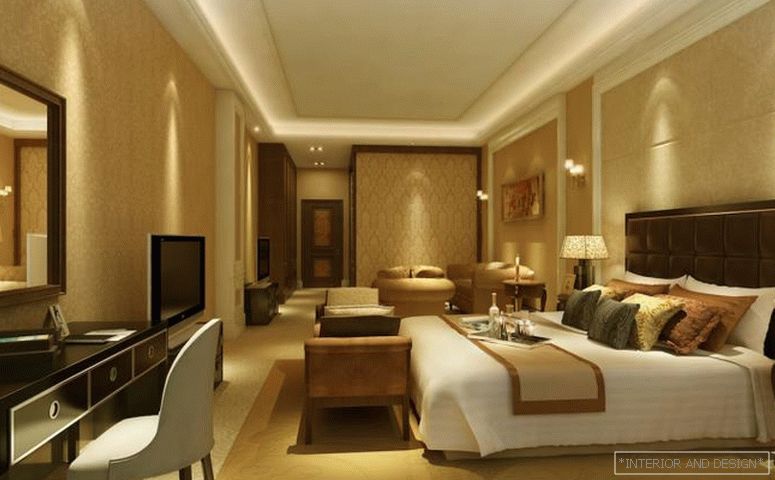
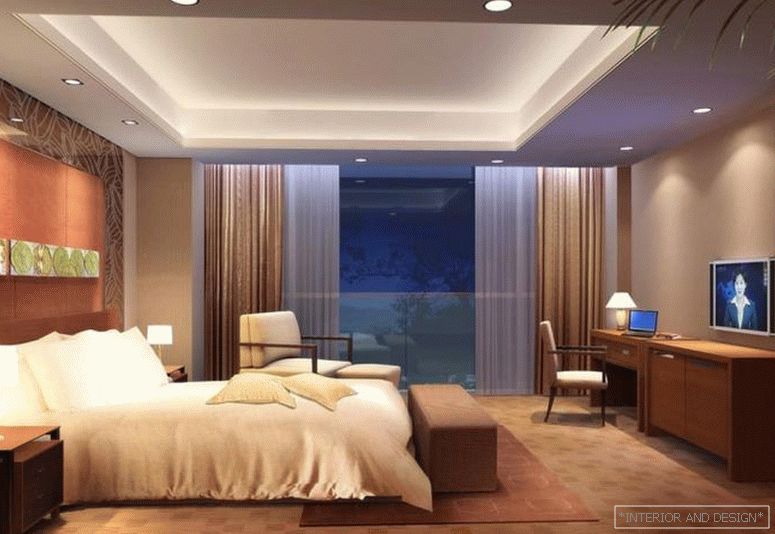
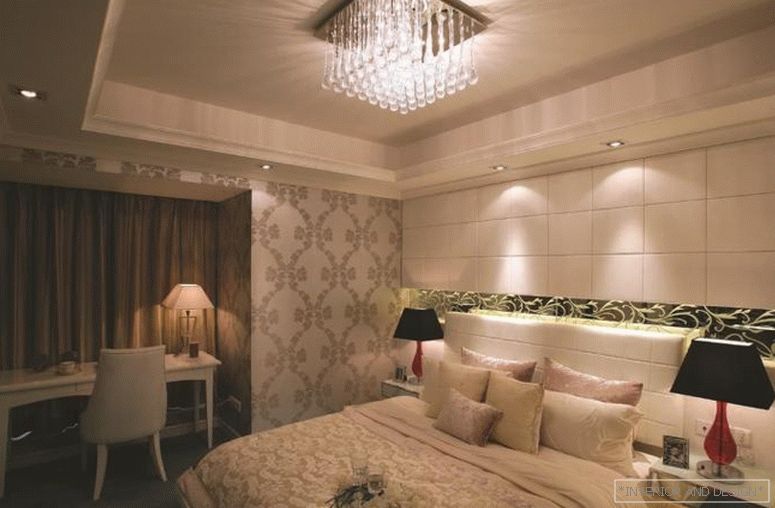
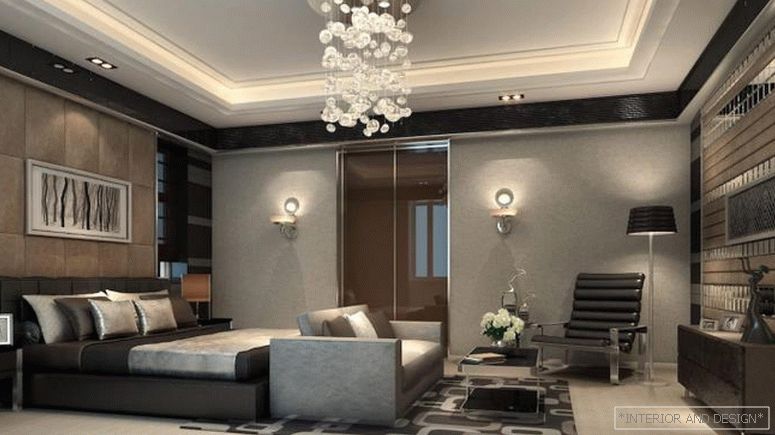
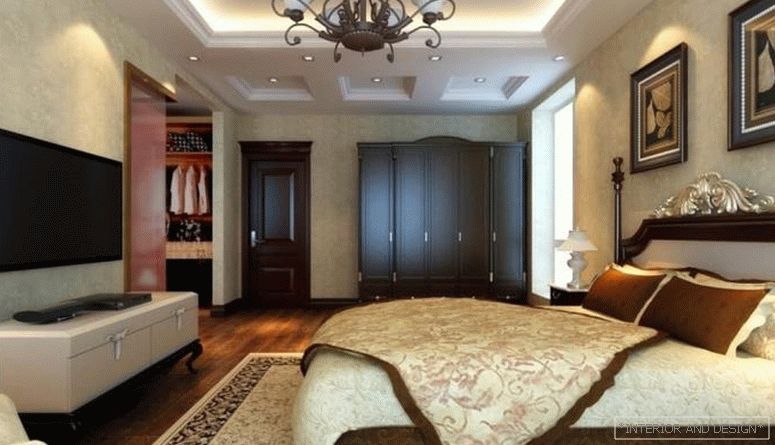
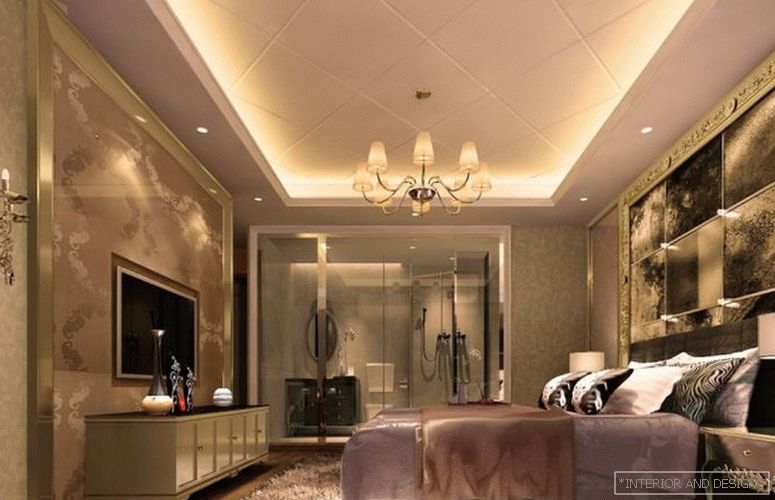
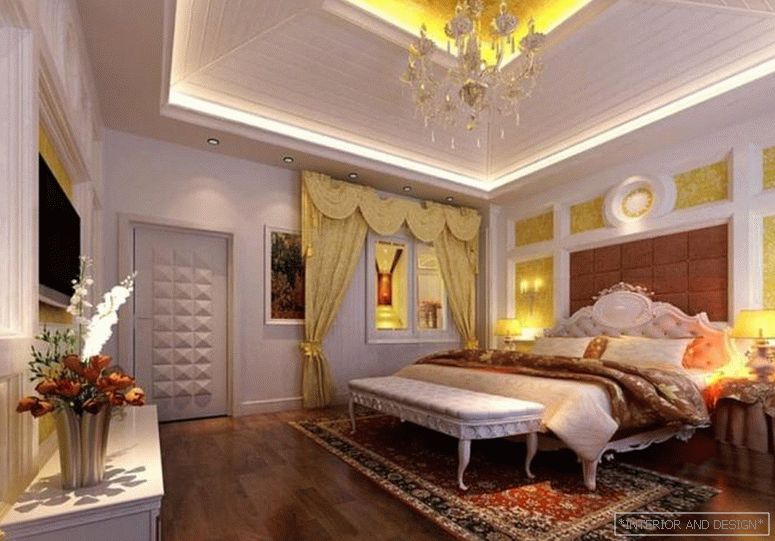
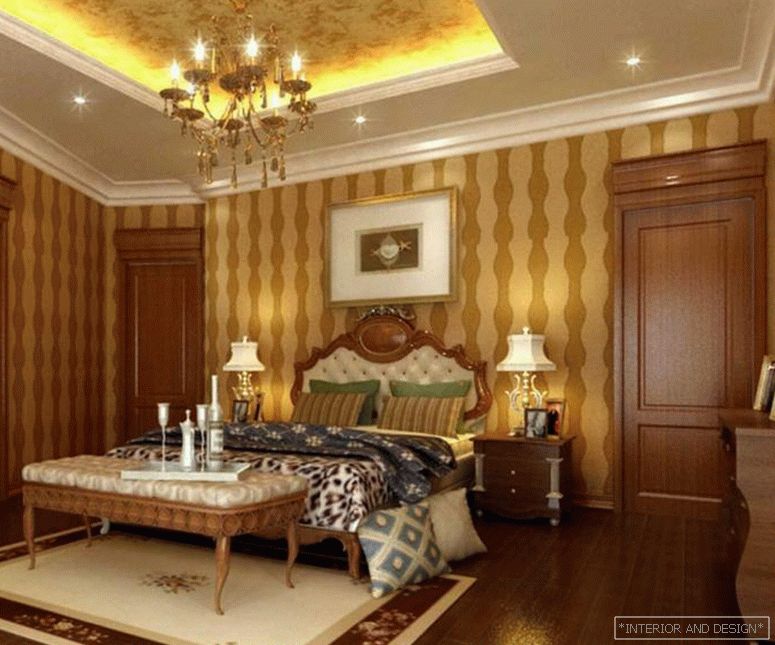
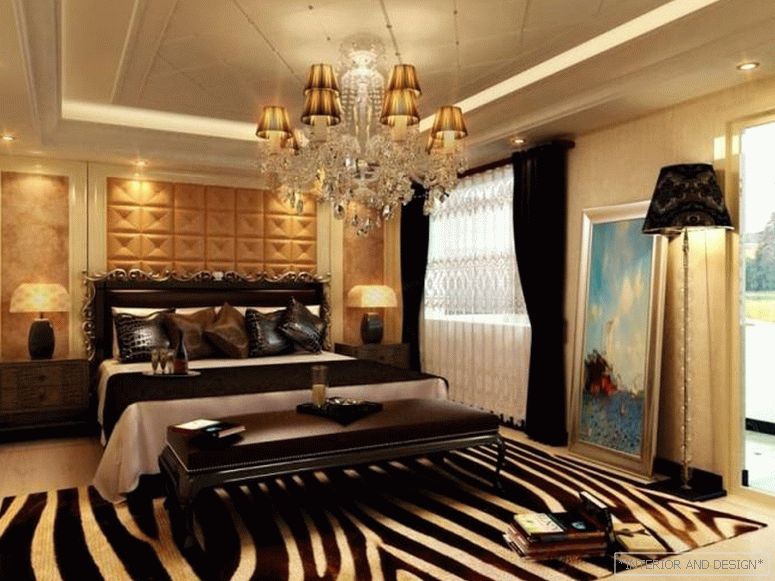
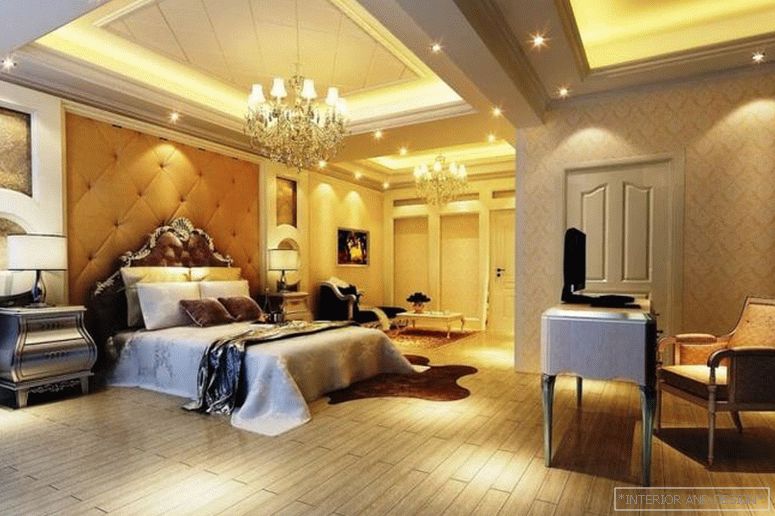
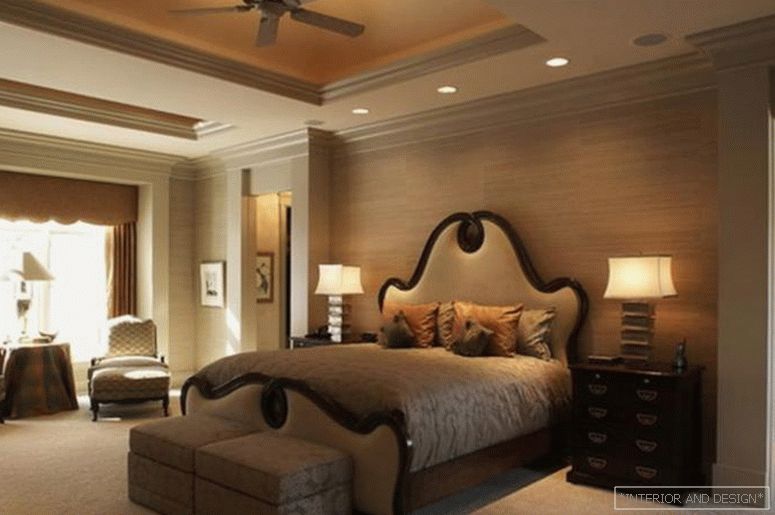
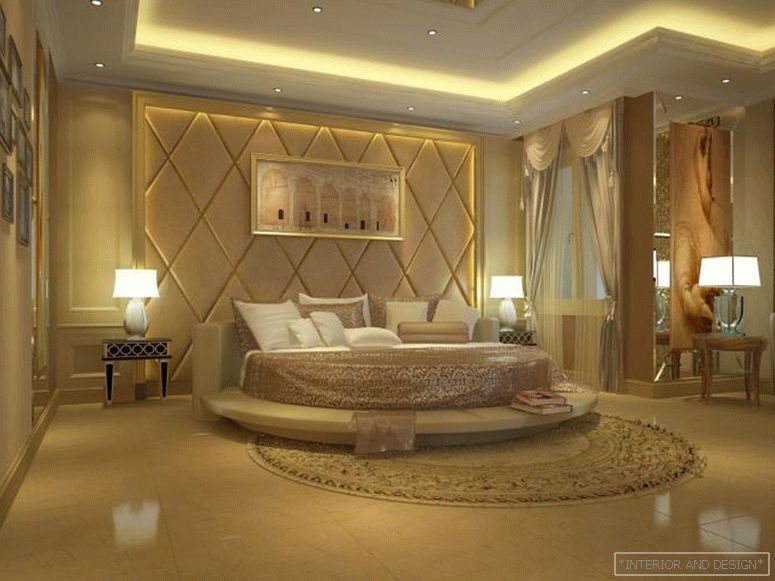
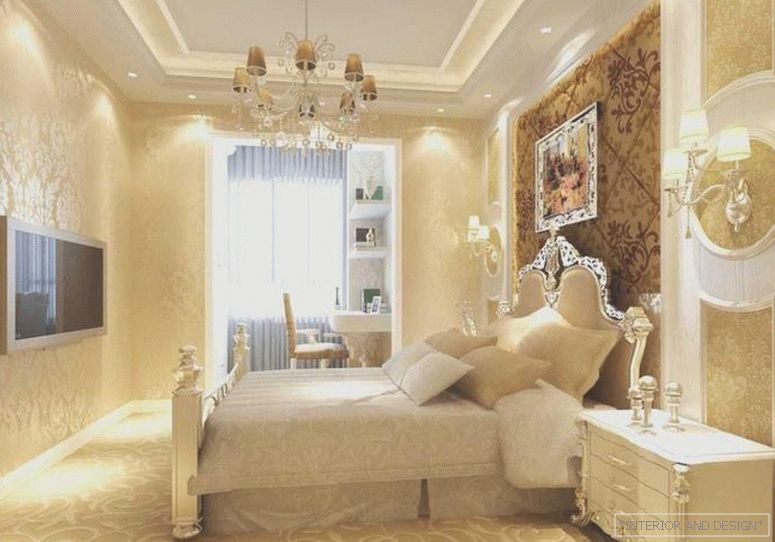
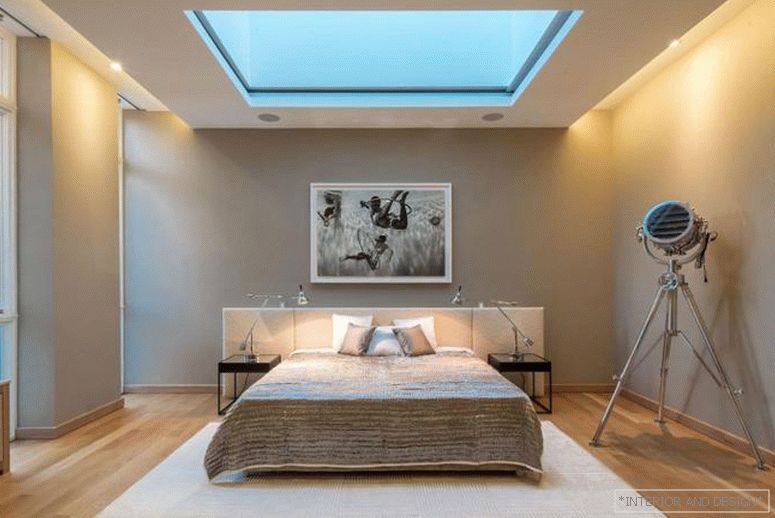
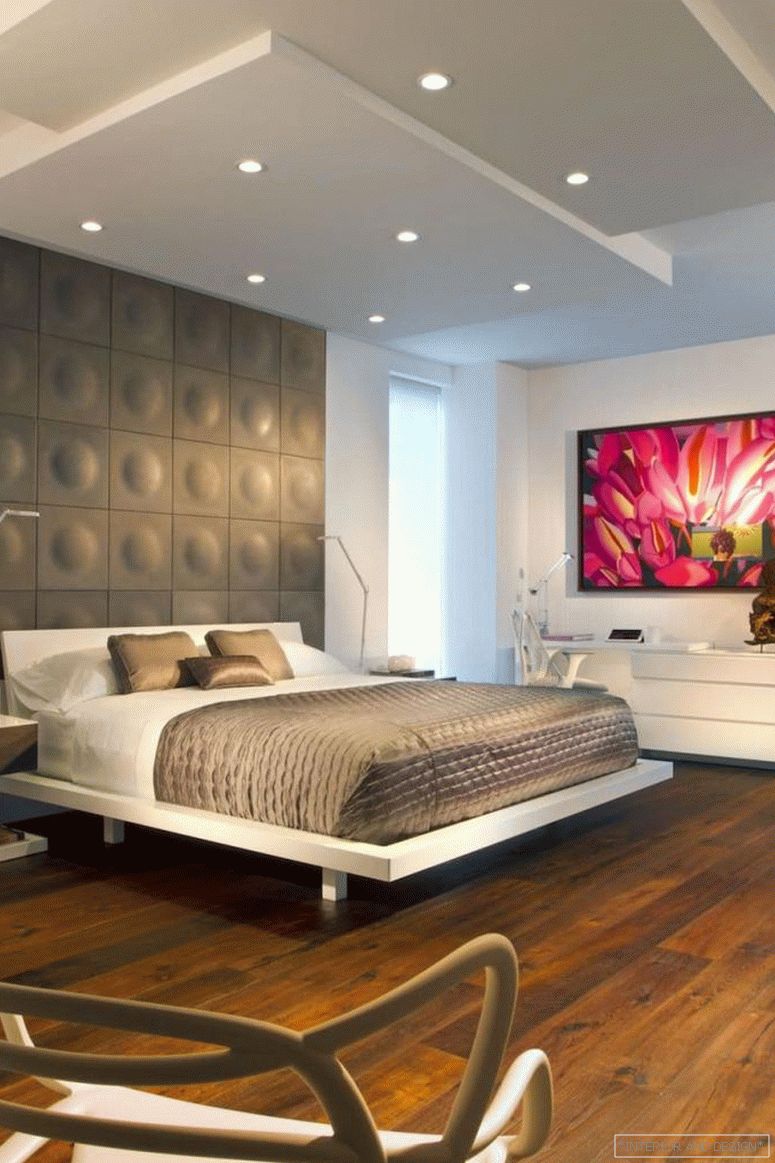
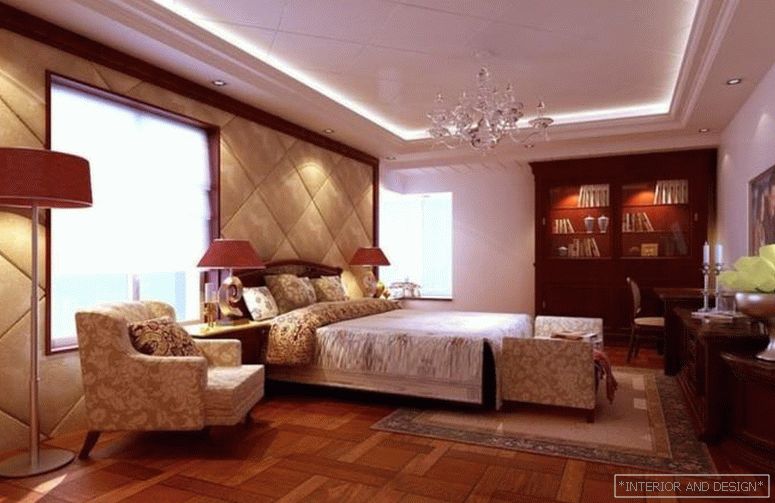
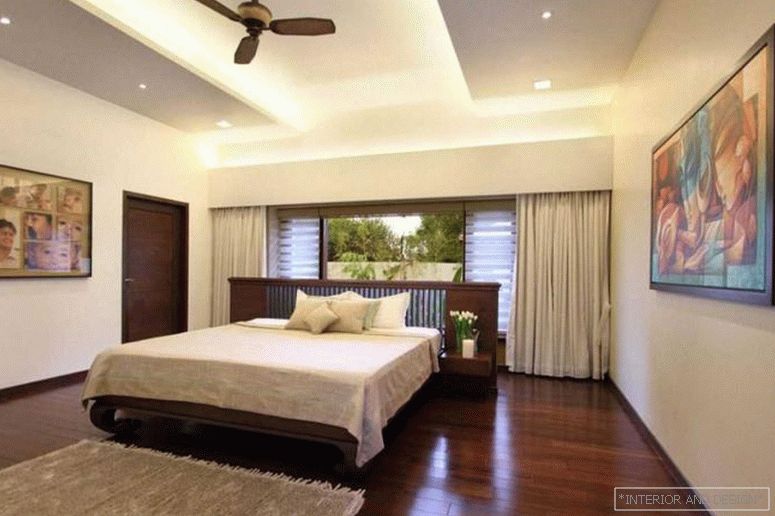
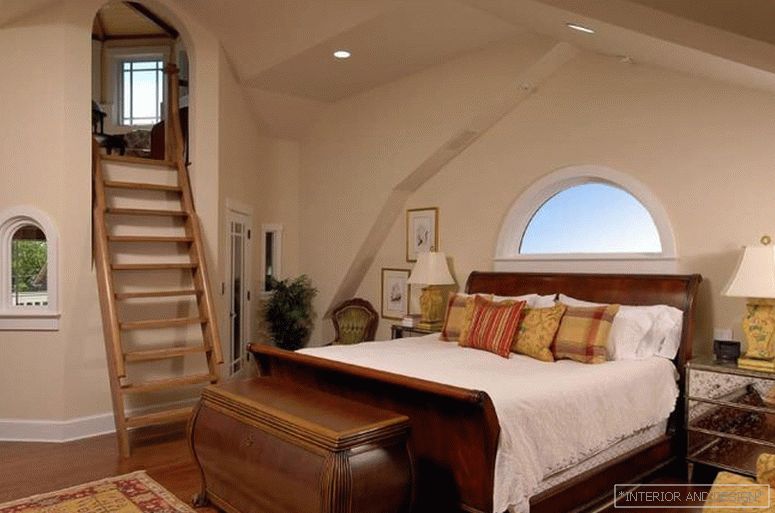
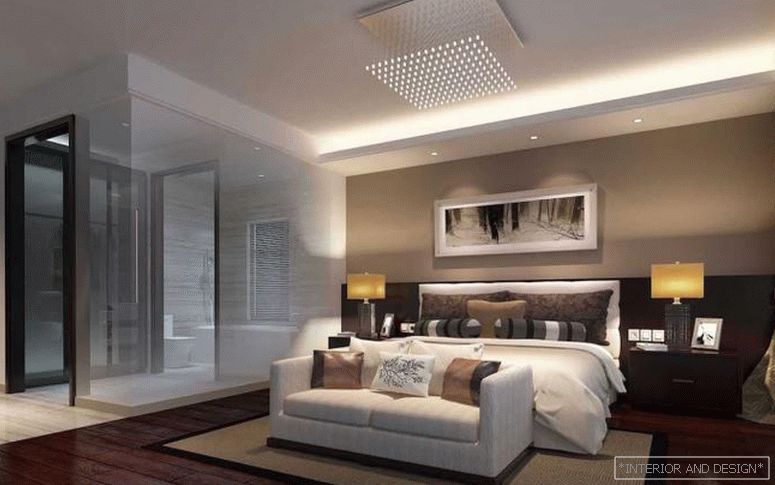
How to make a ceiling in the bedroom?
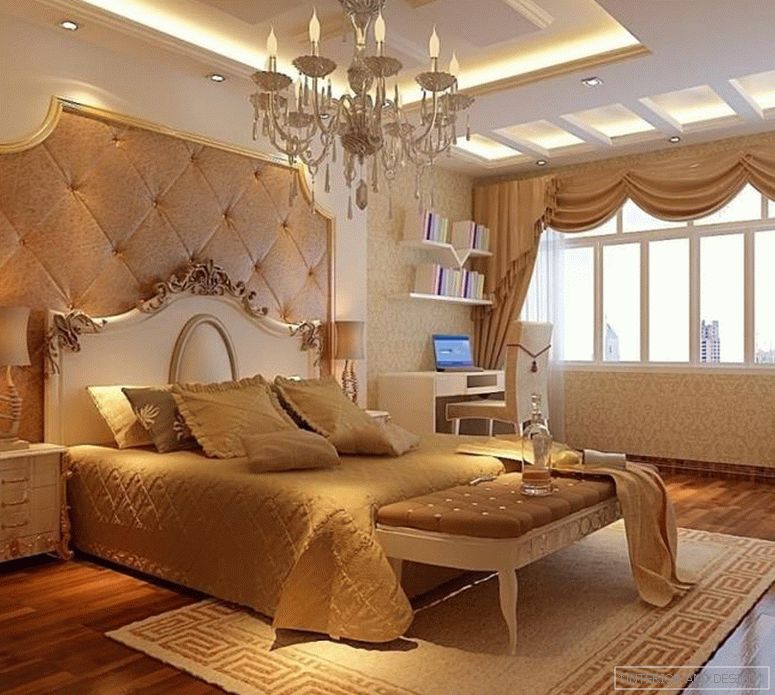
In the interiors of bedrooms, wavy lines and irregular shapes are most popular among design ceiling structures: there are no restrictions here! Any of your decorating ideas, whether it is an asymmetric finish, multi-tiered friezes, medallions, arches, columns and domes - all this will be relevant and perfectly fit into the sleeping interior!
Multi-level ceilings make out, as a rule, directly above the bed. Avoid bright and eye-catching colors: design should relax! The ceilings of warm light and muted tones will best do this task.
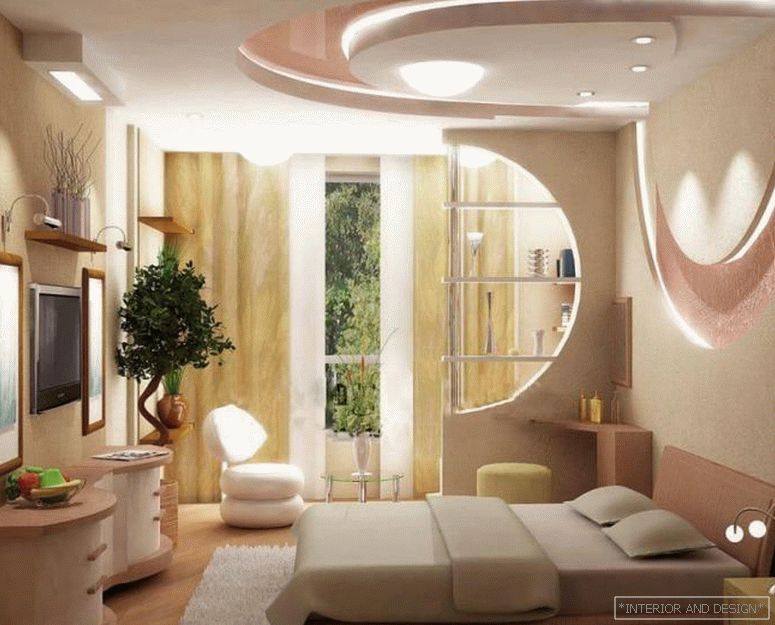
Design for a small bedroom
Selecting the right color scheme will help enrich the interior of a small room and make it more spacious. Traditionally, the ceilings in the bedroom are painted white. But you can come up with something more interesting: for example, the soft blue suspended ceiling will resemble an open sky. Another unusual option for the bedroom is to paint the middle of the ceiling with a deep warm color (for example, burgundy), and perform a planned transition to the color scheme of the walls using lines from the center.
Using glossy surfaces helps to expand small rooms ... but this is not the case! In the bedroom, bright luster will only distract, so it is better to give preference to matte ceilings.
Avoid complex shapes and multi-level structures: the jumble of different elements visually narrow the space. Such a decoration is permissible only if it is necessary to delimit the functional zones of the room or create an emphasis on any design element.

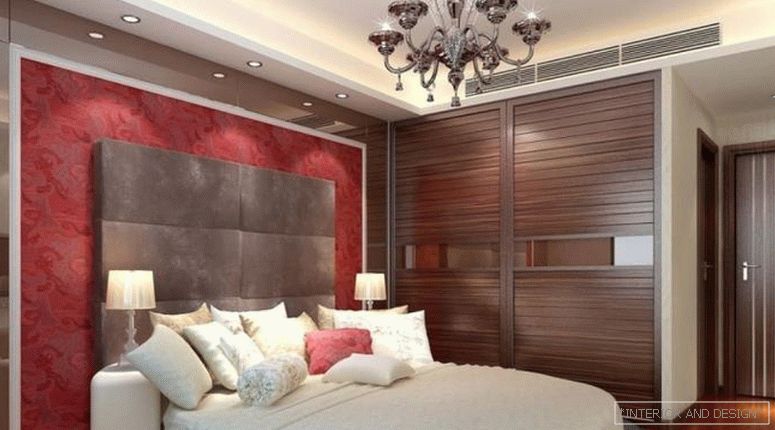
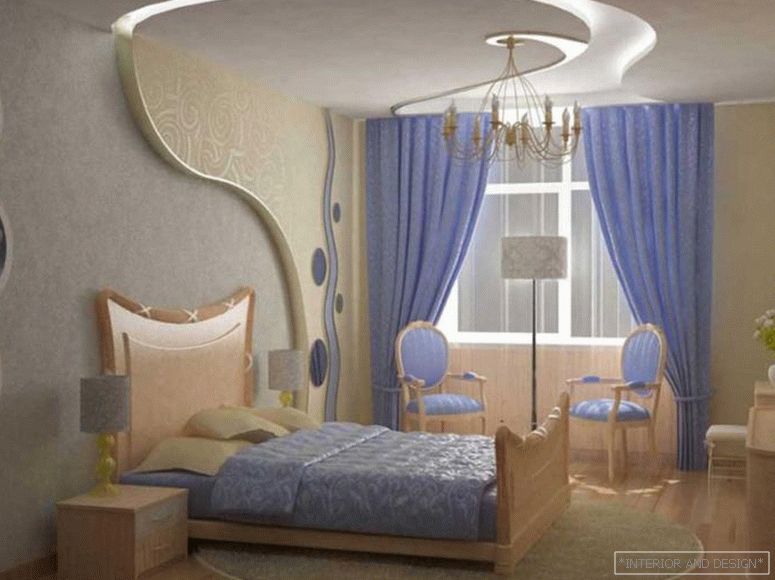
Adjust the narrow bedroom
Unfortunately, square or narrow bedrooms in an apartment are far from uncommon! The main feature of such a bedroom is high ceilings, but this height can be easily adjusted with the help of color. For a visual increase in height, pale tones are suitable, and dark colors will help the top to “lower”. If you paint the walls two shades darker than the ceiling, it will also make it lower. Remember that the colors of the ceiling and the floor should always be different!
Do not be afraid to experiment and feel free to use the original colors for the ceiling of a narrow bedroom, such as light colors of pink, purple, orange, coffee.
Be sure to install a variety of spotlights in the ceiling structure. A large amount of light in the room will create the illusion of spacious free space.


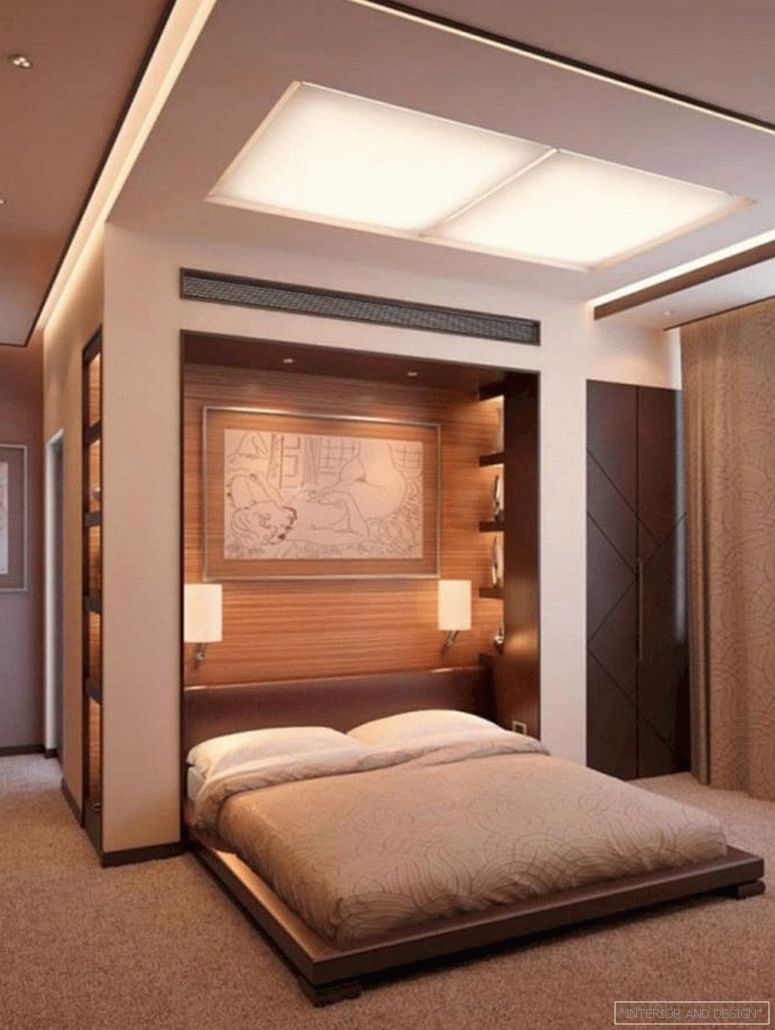
The original design for the bedroom 12-14 square meters

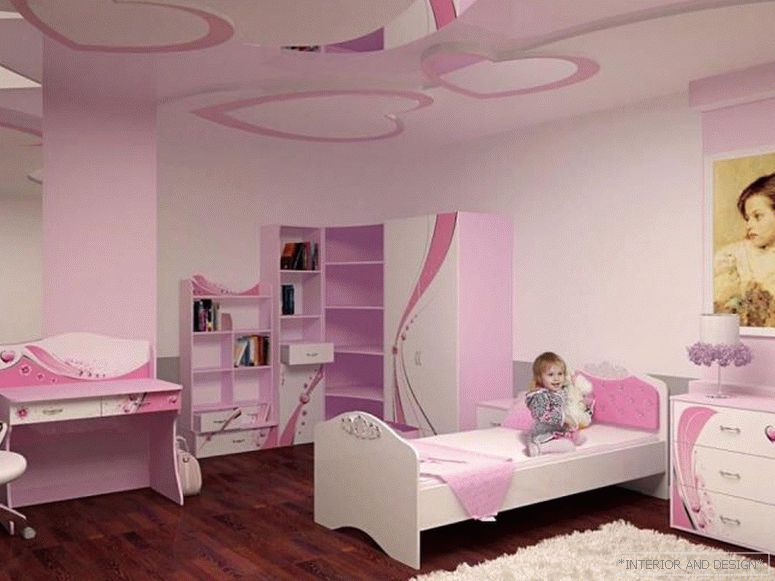
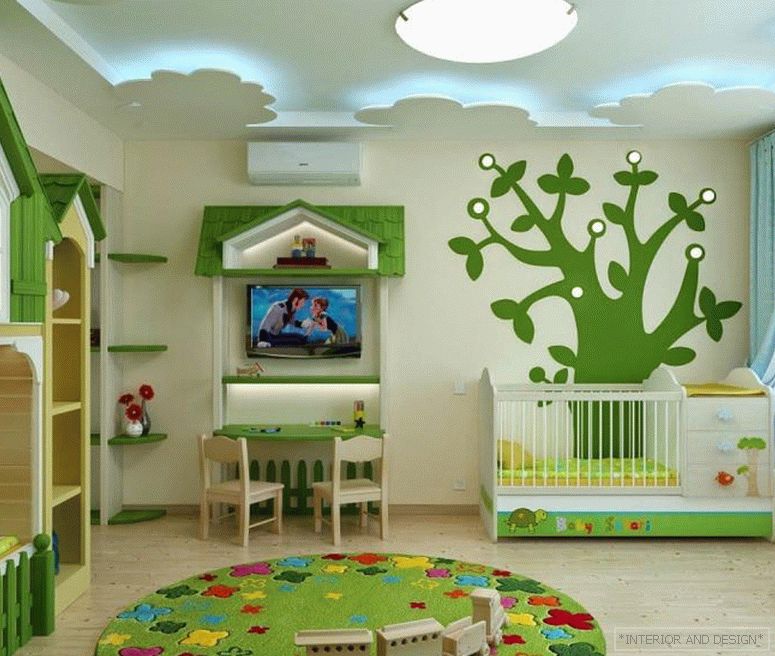
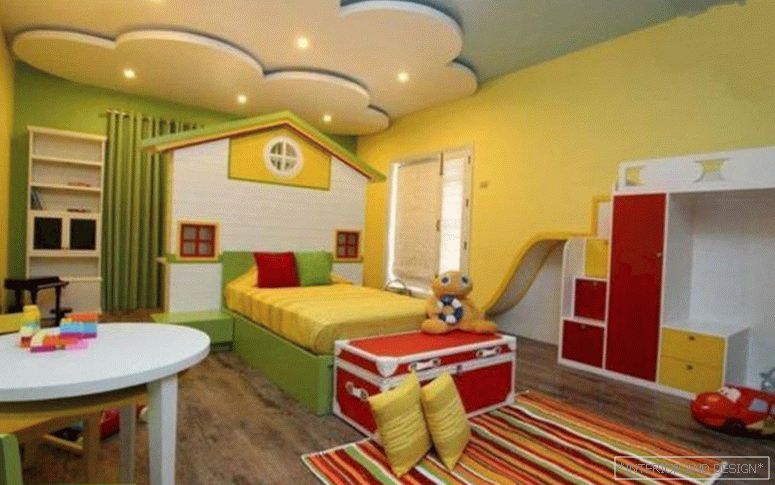
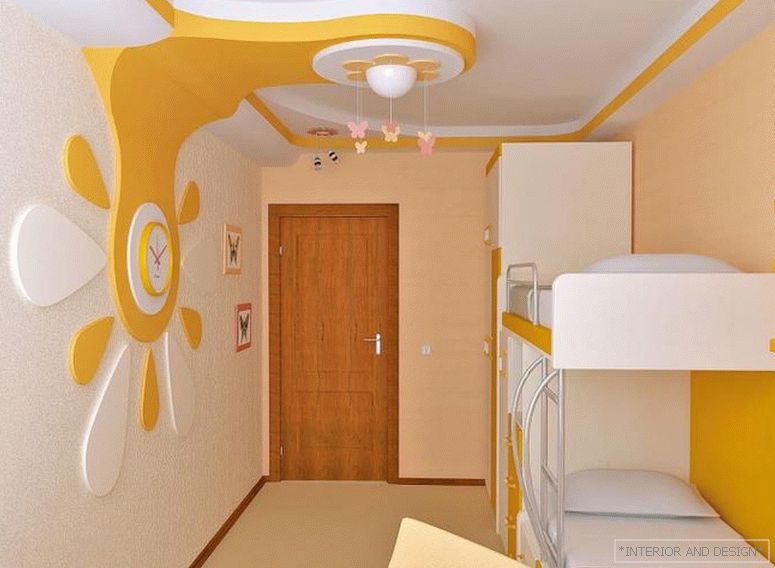
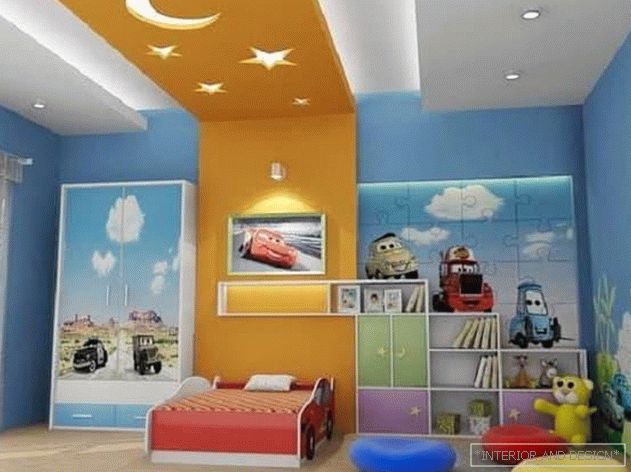
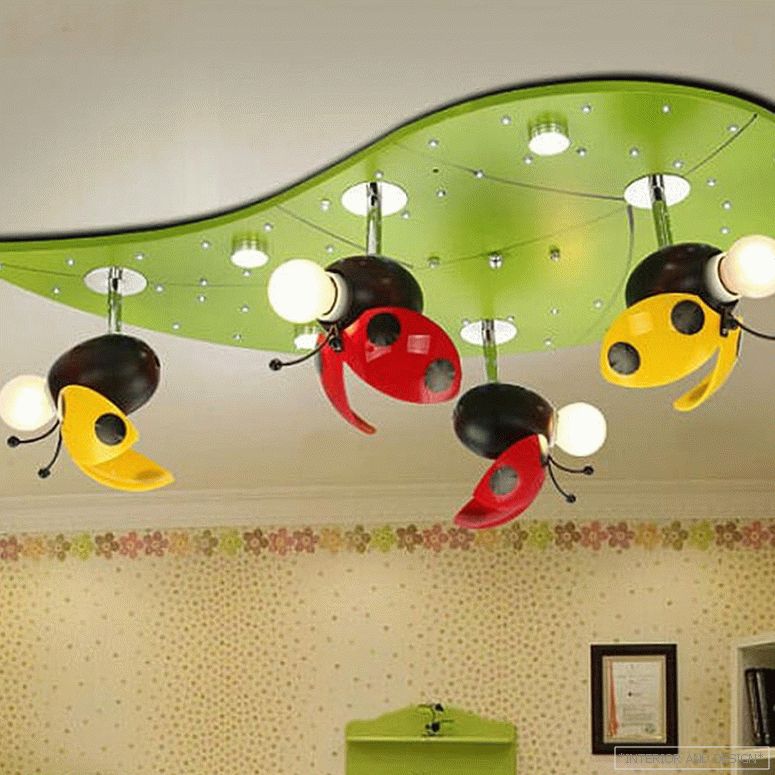
Creative in the children's bedroom
The ceiling of plasterboard is a great opportunity to realize all your original creative ideas in the nursery.
In addition to the incredible design of the ceiling, which is also easy to build yourself, it also has other visible advantages:
- Single and multi-level ceilings can combine chandeliers, and fixtures, and built-in lighting, which will provide a sufficient amount of light in the room and help to divide it into zones. In addition to the central lighting, additional lamps with different light intensity must be present in the nursery throughout the room. The study area should be best lit, the sleeping area should be made darker, and in the center of the room, where there is plenty of light at any time of the day, to leave room for games.
- With the help of drywall, you can create interesting ceilings and lamps in the form of various figures such as a butterfly, a flower, a plane, birds, which can be thought up depending on the interests of the child.
Individual ceiling design can also be created using hand-painted. This method is still little known and not common, but it allows you to realize any desire of your child and make the room for him really special and dear.
- The choice of an arsenal for repairs in a children's bedroom should always be approached with particular responsibility. Drywall is a natural and environmentally friendly materials, so that the health of the child can not worry.

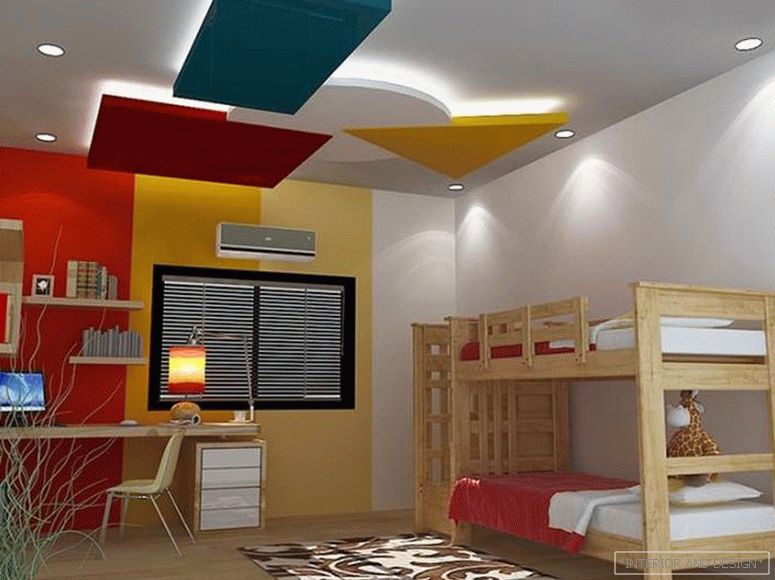
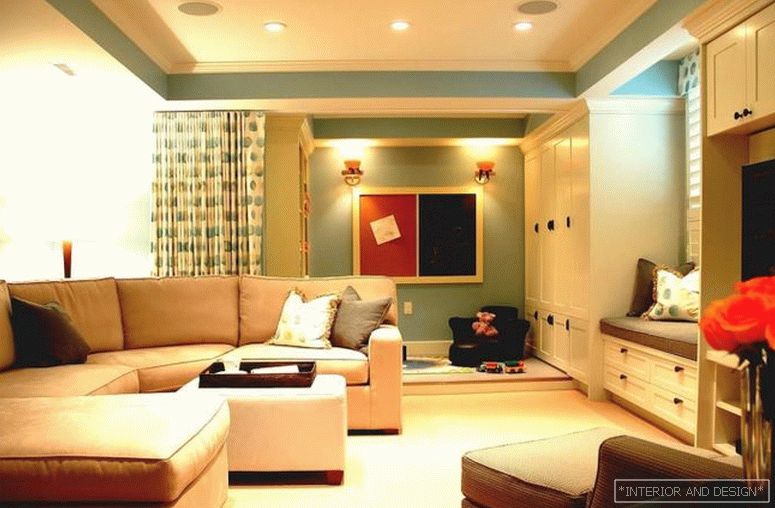
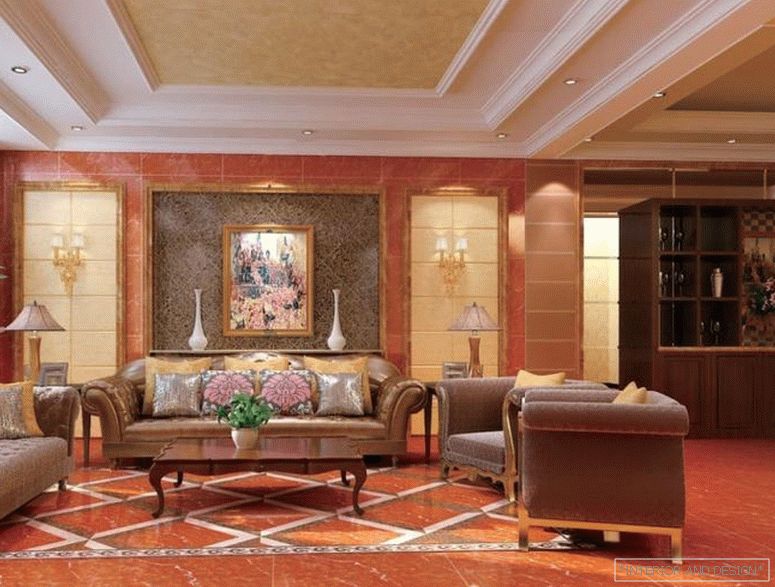
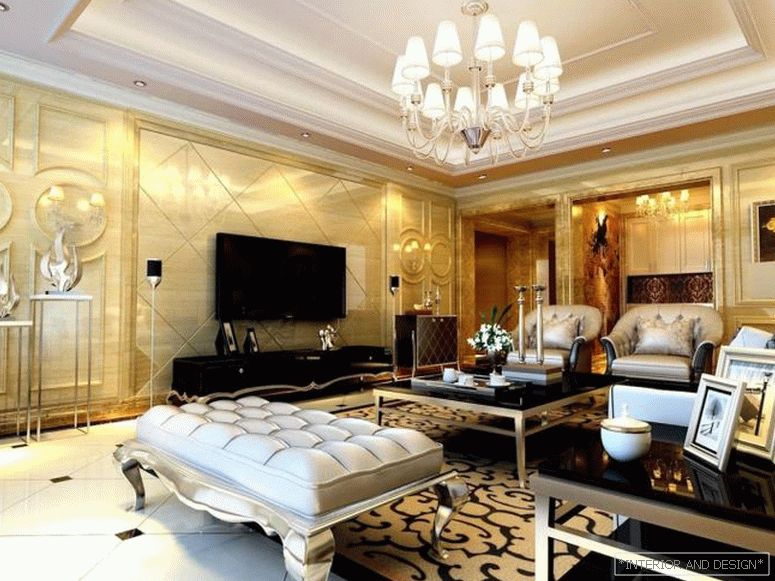
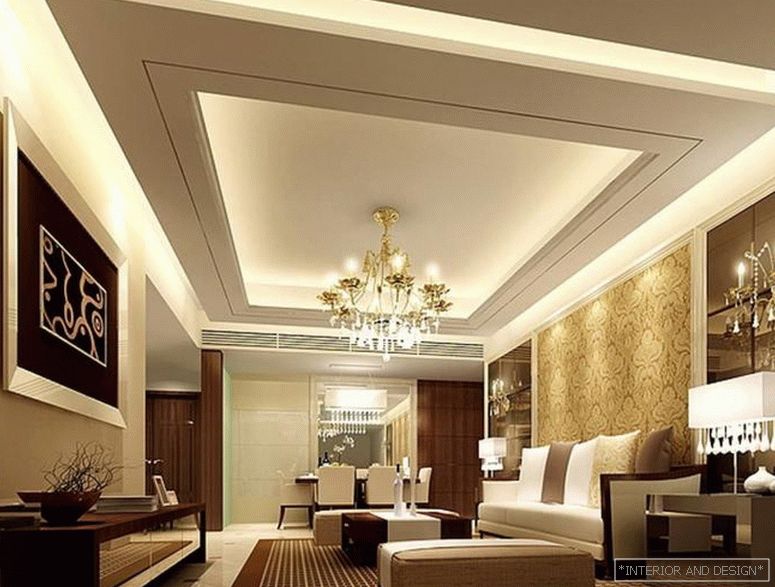
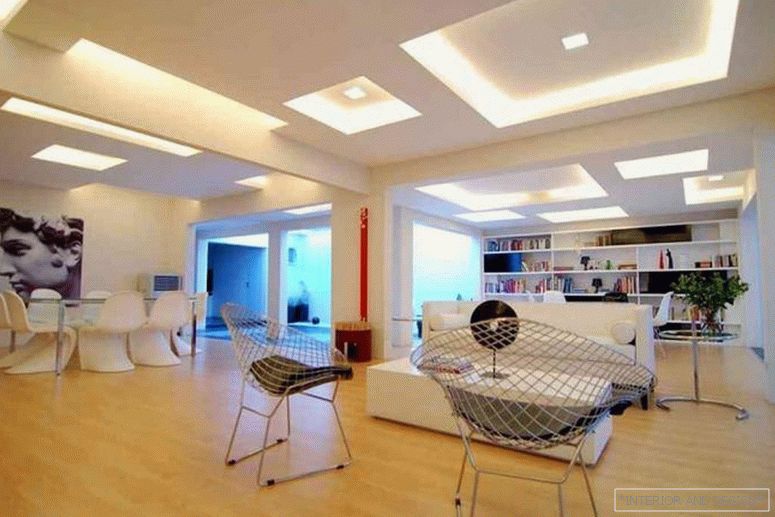
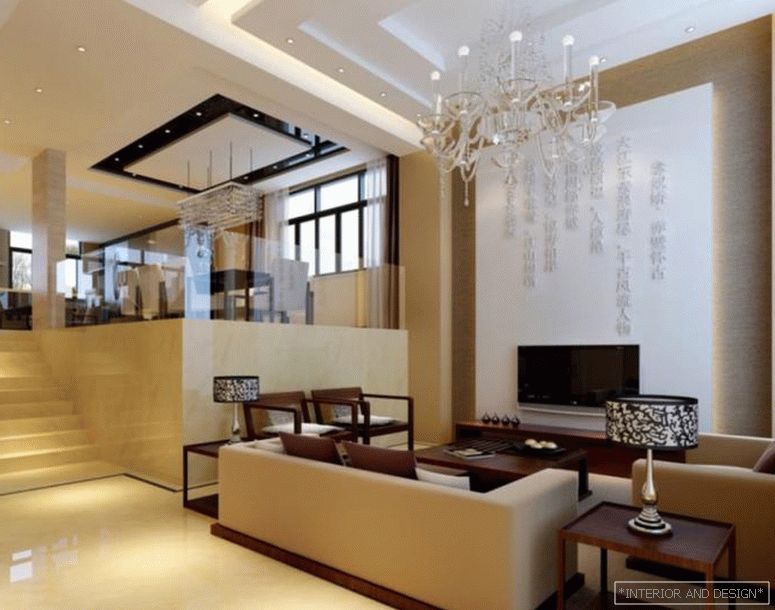
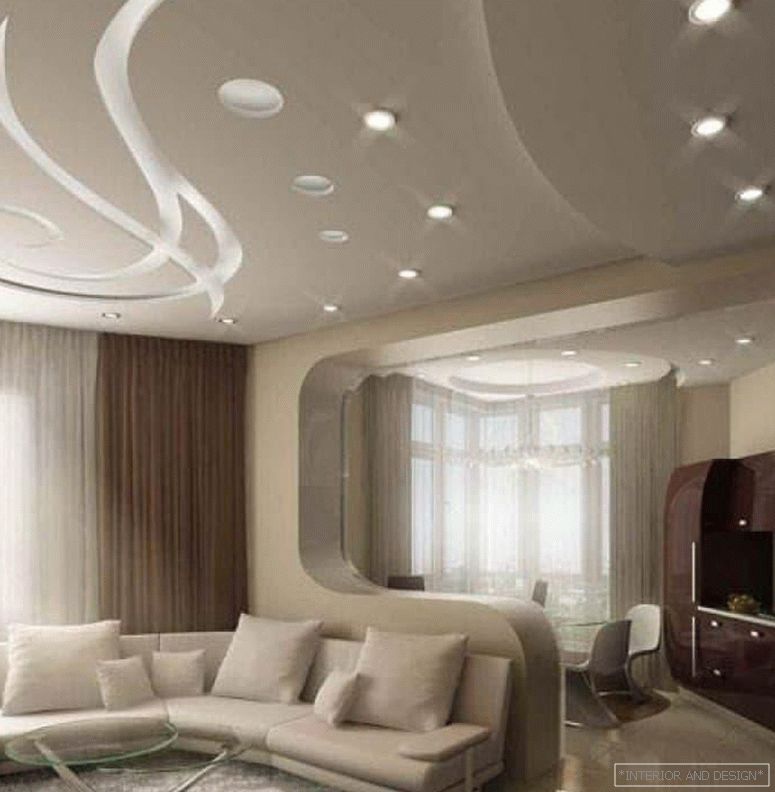
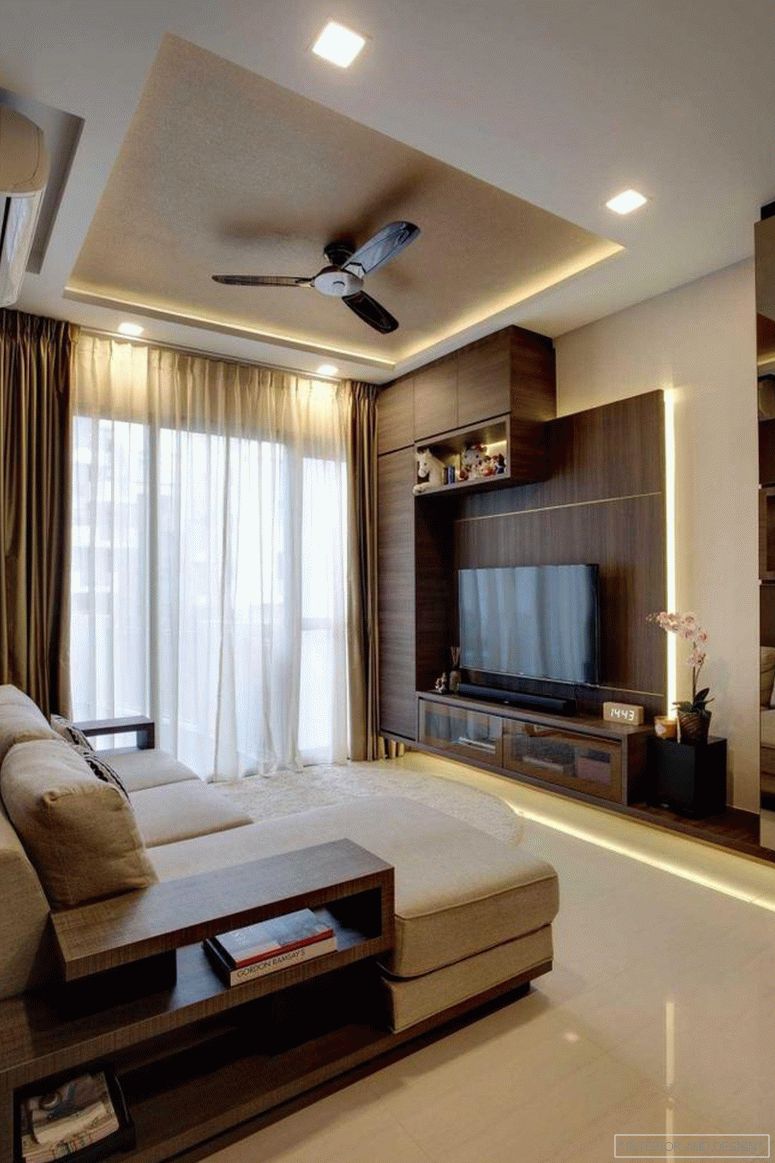
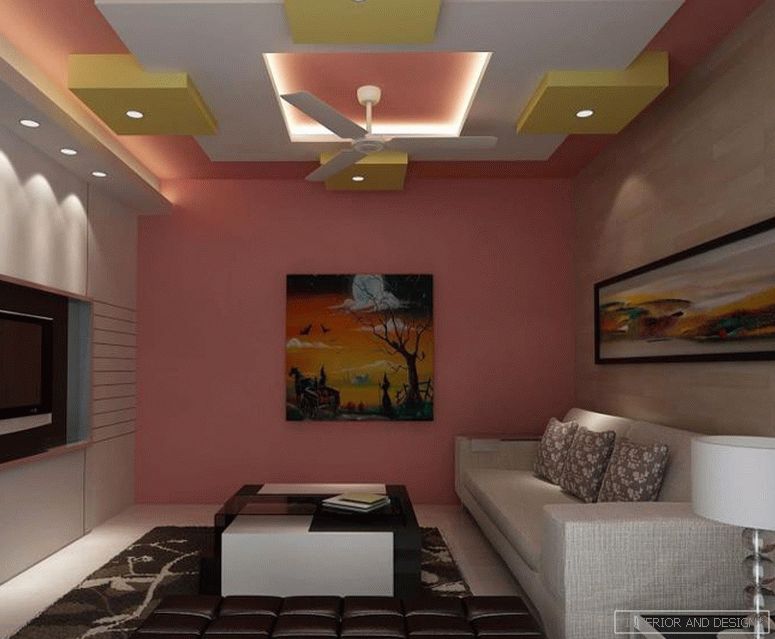
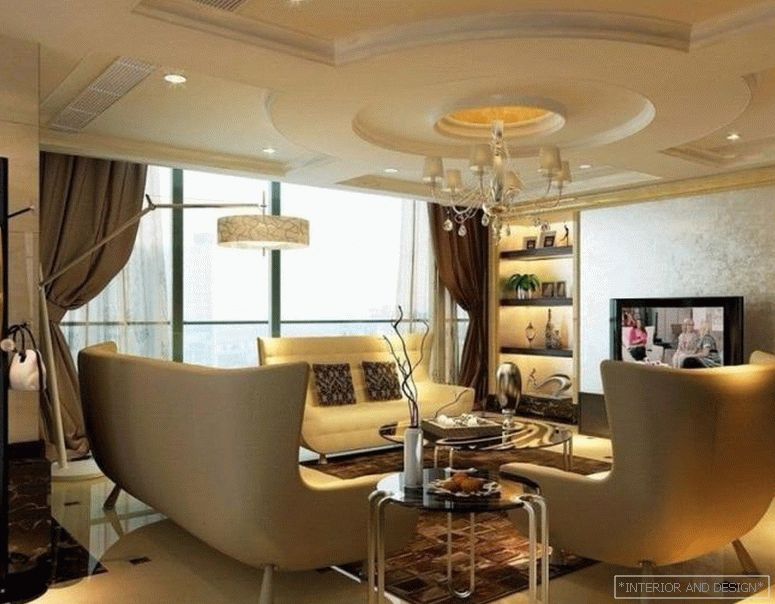
Ceiling Design Tips in the Living Room
For the design of the ceiling in the living room, designers advise to use constructions of geometrically regular shapes: these will be all kinds of circles or figures that emphasize the framing of the base ceiling of the room.
Gypsum ceilings will help you solve the problem of zoning the hall into several zones. Spotlights and various inlays will create a special atmosphere and will be the final touch when creating a unique room design.
The project of your ceiling should organically fit into the style design of the hall itself. For example, in a country-style living room a glossy ceiling will look at least oddish, this option is more suitable for high-tech or modern.
Hall decoration in Khrushchev
Hall in Khrushchev - this is usually a room of a small area with ceilings up to 2.5 meters high and almost zero sound insulation. Therefore, when planning the room and ceilings, it is necessary to choose such design solutions that will help to improve these features for the better.
Say no to a large chandelier that will only clutter up the living room and make it visually lower. The best option is a small suspended ceiling with built-in spot lighting: diffused lighting will visually increase the space. In the suspension structure, you can lay soundproofing, which will provide the necessary sound protection.
Another interesting design decision is to combine plasterboard and glossy ceilings that will reflect light and visually “lift” the ceiling surface.
Choose colors in a warm palette. And if you make the ceiling and walls of the same color, then the borders of the room seem to blur, and this will also create the illusion of a large space.

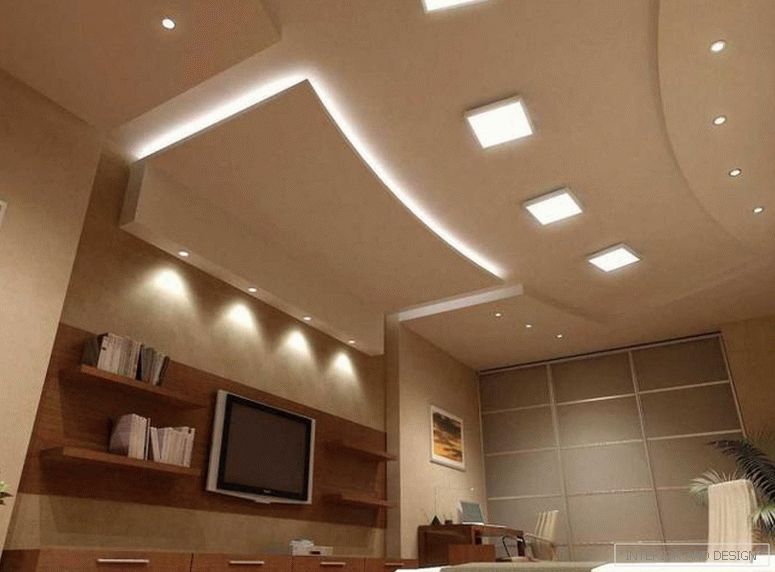
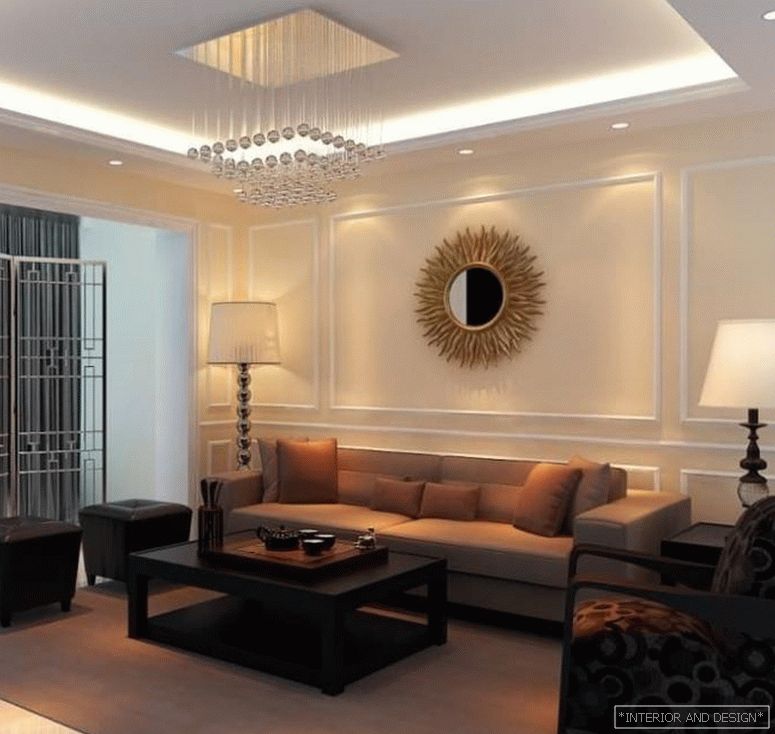
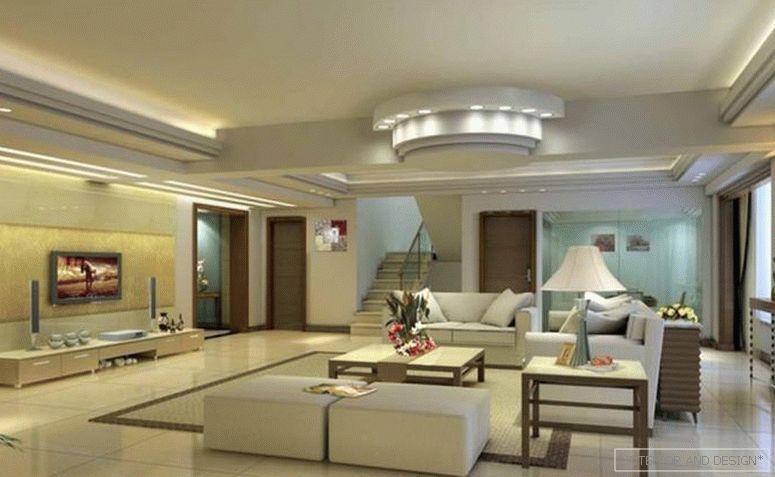
Spacious living room of 20 square meters. m
At first glance, the area of the room may seem large, but its visual and actual size largely depends on the ceilings. If they are low, then you should not construct complex two-or multi-level structures that visually reduce the living room: one level will be quite enough. For a low ceiling, choose tones that will be lighter than the walls or glue the wallpaper with a strip that will visually “lift” the ceiling.
To illuminate a large room, it is recommended to use drywall constructions with spotlights built into them that have the function of zonal adjustable lighting. Then, if necessary, you can adjust the amount of light in each part of the room. For example, include only two light bulbs above the cabinet or three lamps above the bed.
Master the ceiling of plasterboard do it yourself
If you have even the slightest skills, installation of drywall will not be a difficult task for you. It is only necessary to know some features of drywall sheets and what to do with them, how to design everything and successfully hide all the shortcomings of the finish under the ceiling. All this we now will tell.
First of all, you will need to make an inventory of your tools and, if necessary, buy the missing tools and materials such as, for example, suspensions, screws, profiles and dowels-nails. Profile take the size of at least 4 meters, so as not to face the need for their joining.
- The first level of the frame is always mounted the same way. Before the drywall turns into a full-fledged design, you will need to install a simple one-level ceiling. To do this, we make markings on the ceiling using a laser level and at a distance of ten centimeters from the main ceiling we place a wall profile.
- The size of the indent will depend on how the lamps and engineering systems are located in the ceiling zone. To set the frame evenly, use the laser level again.
- Secure the longitudinal profiles, placing them at a distance of about 500-600 mm. The size of the profiles is usually fixed, so when installing the ceiling in a large room, they will need to be spliced together with special tools.
- Above the ceiling profile make suspensions. Secure them with an anchor or using dowel-nails. Attach the guides to the suspensions and fix them with screws.
All these actions will require you to extreme concentration and accuracy in the measurements. Now that the main ceiling frame has been made, the question again arises: how can we design the gypsum board ourselves?
- First, conduct electrical wiring, ventilation, communication, so that all wires hide under the ceiling before the sheets are placed. You can make openings for installation of lighting both before, and after installation.
- If your room is not exactly flat walls, then when placing sheets of plasterboard may form sloppy joints. Therefore, before you tinker the ceiling and begin to lay out sheets, you will need to pre-cut slightly the places of these joints with the wall or corner of the room so that your sheet lies beautifully and carefully. First, take and treat all sheets with a special primer to provide them with a good waterproofing.
- Leave a distance of a few millimeters from the ceiling to the wall, so that the drywall sheets can "breathe" freely and do not deform afterwards under the influence of high temperatures.
- Begin to fasten the sheets along the supporting profiles, strictly observing the staggered order: the first sheet should be fixed with respect to the wall, and the next one - from the longitudinal profile that comes first.
- The installation phase is complete! Now you need to make holes for fixing lamps, laying pipes and other communications.
- Ceiling plastering should be started only after the initial dirt finish has been completed. Use the one that will penetrate deep into the joints: it will help to make drywall more robust and at the same time will process the sheets themselves, preventing the appearance of mold, microorganisms and other fungi on the ceiling.
- The installation of the plasterboard sheets is complete, it only remains to add to them various decorations and decorative elements.
To make the process more understandable, we also recommend that you familiarize yourself with the video on the installation of plasterboard ceilings.
Read also our article about suspended ceilings.


